
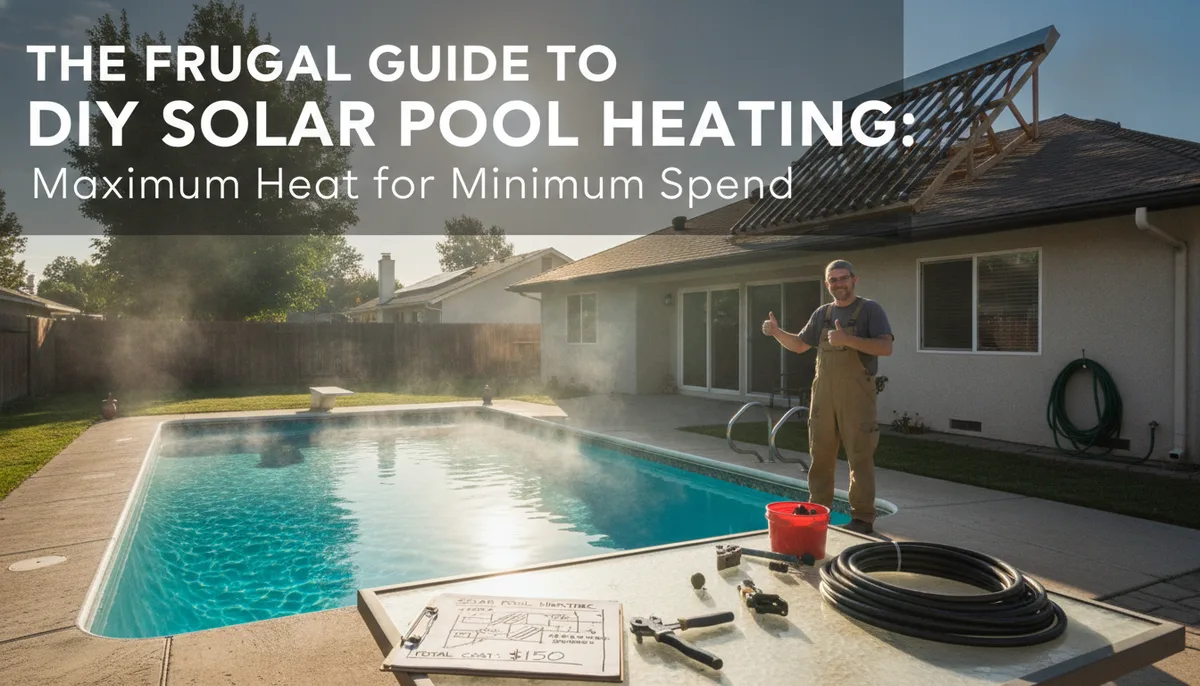
The Frugal Guide to DIY Solar Pool Heating: Maximum Heat for Minimum Spend
Introduction: The Economics of the Frugal Pool
Heating a swimming pool is often the single largest expense for pool owners, second only to the initial construction. Traditional gas or electric heat pumps can add hundreds, if not thousands, of dollars to your annual utility bills. However, the "frugal" approach to pool heating—pioneered by enthusiasts and documented by resources like BuildItSolar—proves that you don't need a massive budget to enjoy a 85-degree pool in the shoulder seasons.
The philosophy of frugal pool heating isn't just about spending less; it’s about maximizing the "BTU per dollar" ratio. By utilizing raw materials like black polyethylene piping, simple PVC manifolds, and the power of the sun, you can create a system that rivals commercial units in performance while costing a fraction of the price.
In this guide, we will break down the technical requirements, the material choices, and the plumbing logic required to build a high-efficiency DIY solar heating system that stands the test of time.
The Physics of Solar Collection: Why Sizing Matters
Before buying a single foot of pipe, you must understand the math behind solar gain. The sun delivers roughly 300 BTUs per square foot per hour under ideal conditions. To move the needle on a 20,000-gallon pool, you need a significant "capture footprint."
The 50% Rule
A common mistake among DIYers is building a collector that is too small. A 4x8 foot panel might feel hot to the touch, but it is a drop in the bucket for a large pool. For a truly effective frugal system, your total collector area should be at least 50% of your pool’s surface area. If you live in a cooler climate or want to swim in early spring, aim for 80% to 100%.
Orientation and Tilt
To get the most out of your frugal build, orientation is key. In the northern hemisphere, collectors should face true south. The tilt angle is also critical; for summer heating, a flatter angle (Latitude minus 10-15 degrees) works best, while shoulder-season heating benefits from a steeper angle (Latitude plus 10-15 degrees) to catch the lower sun.
Choosing Your Collector Style: Trickle vs. Closed Loop
There are two primary ways to build a frugal solar collector, each with its own set of pros and cons.
The Trickle Down (Open) System
This is perhaps the most "frugal" method. Water is pumped to a perforated pipe at the top of a dark, corrugated metal roof or a black plastic sheet. The water "trickles" down the surface, absorbing heat directly, and is collected in a gutter at the bottom to return to the pool. While extremely cheap, these systems suffer from high evaporation rates and can introduce debris into the pool.
The Polyethylene Coil (Closed Loop)
This is the gold standard for DIYers. By coiling hundreds of feet of black PE tubing onto a wooden frame or a flat roof, you create a closed-loop system. The water stays contained, preventing evaporation and chemical loss.
When sourcing materials for this, The PoolHeatHacker Master Buying Guide: Essential Components for DIY Heating provides a comprehensive list of the specific grades of tubing and adhesives that withstand UV exposure.
Plumbing Logic and Flow Rates
A solar heater is only as good as the water moving through it. If the water moves too slowly, it gets scalding hot but doesn't transfer much total volume of heat. If it moves too fast, the friction loss can strain your pump.
The Manifold Design
To keep pressure low and flow high, use a "parallel" manifold design rather than one long continuous loop. By splitting the flow into multiple smaller channels (risers), you reduce the workload on your pump. This is where high-quality fittings become essential. You'll want to ensure your transition from the main pool return line to your solar array is seamless to avoid leaks.
For a detailed breakdown of the connectors required for these transitions, refer to our guide on Essential PVC Fittings Every DIY Heater Needs: A Pool Plumbing Fittings Guide.
Pump Considerations
If your solar array is located on a second-story roof, your standard pool pump might struggle with the "head height"—the vertical distance the water must travel. In these cases, you may need to upgrade to a pump designed for higher flow at higher pressures. You can find technical specifications for these in our resource on Best High-Flow Pool Pumps for DIY Solar Collectors: A Technical Guide.
Heat Retention: The "Invisible" Heater
The most frugal thing you can do for your pool isn't building a heater; it’s stopping the heat from leaving. A pool loses 70% to 90% of its heat through evaporation at the surface.
The Solar Blanket
Without a cover, your DIY solar collector is essentially fighting a losing battle. A heavy-duty solar blanket acts as a one-way valve, letting radiant energy in during the day and trapping it at night. For the frugal builder, a clear or translucent bubble cover is often more effective than a solid blue one, as it allows more sunlight to penetrate the water directly.
Liquid Solar Covers
If a physical blanket is too cumbersome, liquid solar covers (a microscopic layer of fatty alcohols) can reduce evaporation by up to 30%. While not as effective as a physical barrier, they are a low-effort addition to a frugal heating strategy.
Building for Durability: UV Protection and Winterization
The sun that heats your water also destroys your materials. Frugal doesn't mean "temporary." To ensure your system lasts more than one season, you must address two environmental factors:
- UV Degradation: Ensure all plastics used are UV-rated. Standard white PVC will become brittle and crack over time if left exposed. Painting exposed PVC with a high-quality exterior latex paint (ideally in a dark color) can extend its life by a decade.
- Stagnation Temperature: On a hot day when the pump is off, the water inside a solar collector can reach temperatures high enough to soften or melt certain plastics. Always include a bypass valve so the system can be drained or "blown out" if it’s not in use.
- Winterization: If you live in a climate with freezing temperatures, your frugal system must be gravity-drainable. Any water trapped in the PE coils or PVC manifolds will expand when frozen, shattering your hard work. Install T-valves at the lowest points of your plumbing to ensure a complete drain.
Maximizing the "Frugal" ROI
To truly see the benefits of your DIY solar project, you should monitor the performance. A simple dual-probe thermometer—one in the pool and one at the solar return—can tell you exactly how many degrees you are adding to the water.
When you see a 5-degree temperature differential at a flow rate of 20 gallons per minute, you are effectively generating about 50,000 BTUs per hour. At current propane or electricity rates, that’s several dollars of "free" heat every hour the sun shines. Over a single summer, a well-built frugal system pays for itself entirely, leaving you with nothing but warm water and a lower carbon footprint for years to come.