
Stop Heat Loss: How to Insulate Above Ground Pool Walls for DIY Heaters
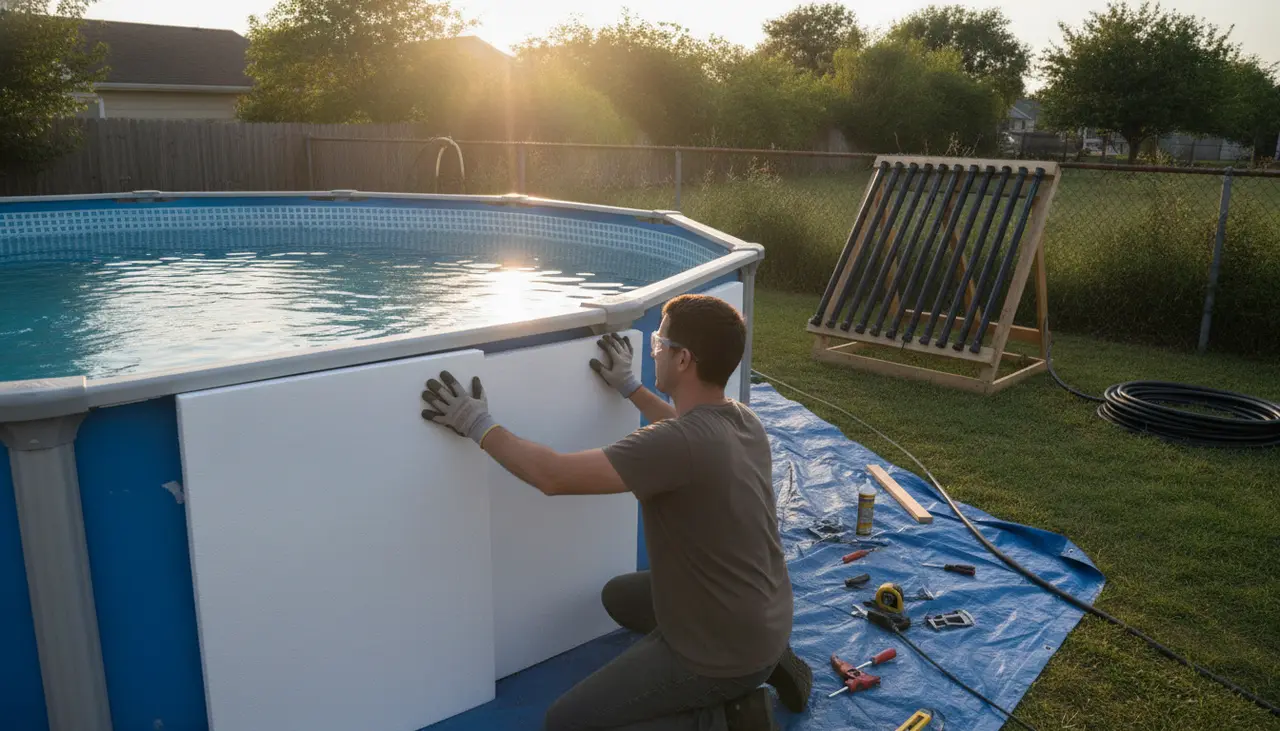
To effectively insulate an above ground pool, you must create a thermal barrier between the water and the ambient air. For DIY enthusiasts, the most effective method is installing 1/2-inch to 1-inch rigid extruded polystyrene (XPS) foam boards around the exterior perimeter of the pool wall. This modification reduces conductive heat loss through the steel or resin walls, allowing your DIY solar collector or wood-fired exchanger to raise the water temperature faster and maintain it longer.
Without insulation, an above ground pool acts like a giant radiator, shedding thermal energy into the air and ground. By adding a layer of foam with a consistent R-value, you can improve heat retention by 10% to 20%, depending on local wind speeds and ambient temperatures.
Who This Guide Is For
This tutorial is designed for backyard pool owners who have already implemented—or are currently building—a DIY heating system. If you are running a solar poly-pipe array or a copper coil wood-burner, insulation is the "force multiplier" that ensures the BTUs you generate actually stay in the water.
Comparison of Insulation Materials
When choosing materials to insulate an above ground pool, the R-value (thermal resistance) and moisture resistance are the primary specifications to consider.
| Material | R-Value (per inch) | Moisture Resistance | Best For |
|---|---|---|---|
| Extruded Polystyrene (XPS) | R-5.0 | High (Closed Cell) | Permanent exterior wall insulation. |
| Expanded Polystyrene (EPS) | R-3.8 | Medium | Budget-friendly wall insulation. |
| Reflective Bubble Foil | R-1.0 to R-1.1 | High | Temporary seasonal wrapping. |
| Polyethylene Foam | R-3.0 to R-4.0 | High | Curved walls and tight radiuses. |
Required Components and Tools
Before starting, ensure you have the correct materials. Using the wrong adhesive can melt the foam or damage your pool wall.
- Insulation: 4' x 8' sheets of 1/2" or 3/4" XPS foam board.
- Adhesive: Low-VOC, foam-compatible construction adhesive (e.g., Loctite PL 300).
- Sealing Tape: UV-rated outdoor weatherization tape or Tyvek tape.
- Cutting Tool: Retractable utility knife with fresh blades.
- Measuring Tape: Minimum 25-foot length.
- Optional Finishing: Vinyl lattice or reed fencing to cover the foam for aesthetics.
If you are still sourcing your primary heating components, refer to The PoolHeatHacker Master Buying Guide: Essential Components for DIY Heating for a breakdown of compatible hardware.
Step-by-Step: Insulating Above Ground Pool Walls
1. Calculate Surface Area
Measure the circumference of your pool and the height from the bottom rail to the top ledge.
- Calculation: (Circumference x Height) / 32 = Number of 4'x8' foam sheets required.
Always round up to account for cutting waste.
2. Prepare the Wall Surface
Clean the exterior of the pool wall to remove dirt, algae, or oxidation. The adhesive requires a clean surface to bond the foam to the metal or resin. Ensure the area is completely dry before application.
3. Sizing and Cutting the Foam
XPS foam is rigid but can be scored and snapped. Measure the vertical distance between the bottom track and the top rail. Cut your foam sheets to this exact height. For round pools, you will need to "kerf" the back of the foam (cut shallow vertical slits halfway through the board) every 2-4 inches to allow the board to bend along the radius without snapping.
4. Applying Adhesive and Mounting
Apply beads of foam-compatible adhesive to the back of the foam board. Focus the adhesive on the center and edges. Press the board firmly against the pool wall. Hold for 30-60 seconds or use ratcheting cargo straps around the perimeter of the pool to hold all boards in place while the glue cures.
5. Sealing the Joints
Once the boards are mounted, use UV-rated weatherization tape to seal every vertical seam between the foam sheets. This prevents air infiltration, which can carry heat away via convection. Ensure the tape is pressed flat to avoid water trapping behind the foam.
6. Plumbing Integration
When you reach the intake and return ports, carefully cut holes in the foam to accommodate your PVC fittings. Ensure a tight fit to minimize gaps. For more information on managing these connections, see our guide on Essential PVC Fittings Every DIY Heater Needs: A Pool Plumbing Fittings Guide.
Common Beginner Mistakes
- Using Standard Construction Adhesive: Many standard adhesives contain solvents that will chemically melt polystyrene foam. Only use "Foam Board" specific adhesives.
- Leaving Gaps at the Top/Bottom: Heat escapes through the path of least resistance. If the foam doesn't sit flush against the top rail, a "chimney effect" occurs, pulling cold air behind the insulation.
- Ignoring UV Degradation: XPS foam will break down and turn to powder if left in direct sunlight for multiple seasons. Always cover the foam with a UV-resistant wrap, paint, or decorative fencing.
- Neglecting the Surface: Wall insulation only solves part of the problem. You must use a solar cover or a liquid solar cover (an invisible chemical barrier) to prevent evaporative heat loss, which accounts for up to 70% of total heat loss.
Efficiency FAQ
Does insulating the walls really make a difference? Yes. While the majority of heat is lost through the surface via evaporation, metal pool walls are highly conductive. In windy conditions, the "wind chill" on the pool wall can strip BTUs faster than a small DIY solar heater can replace them.
Can I insulate the pool floor? Floor insulation is most effective when installed during pool construction, under the liner. If the pool is already full, you are limited to insulating the walls.
How much does this cost? For a standard 24-foot round pool, materials typically cost between $150 and $300, depending on the thickness of the foam chosen.
Affiliate Disclosure: This post contains affiliate links for foam board, adhesives, and plumbing components. If you purchase through these links, we may earn a small commission at no additional cost to you, which supports our technical build guides.