
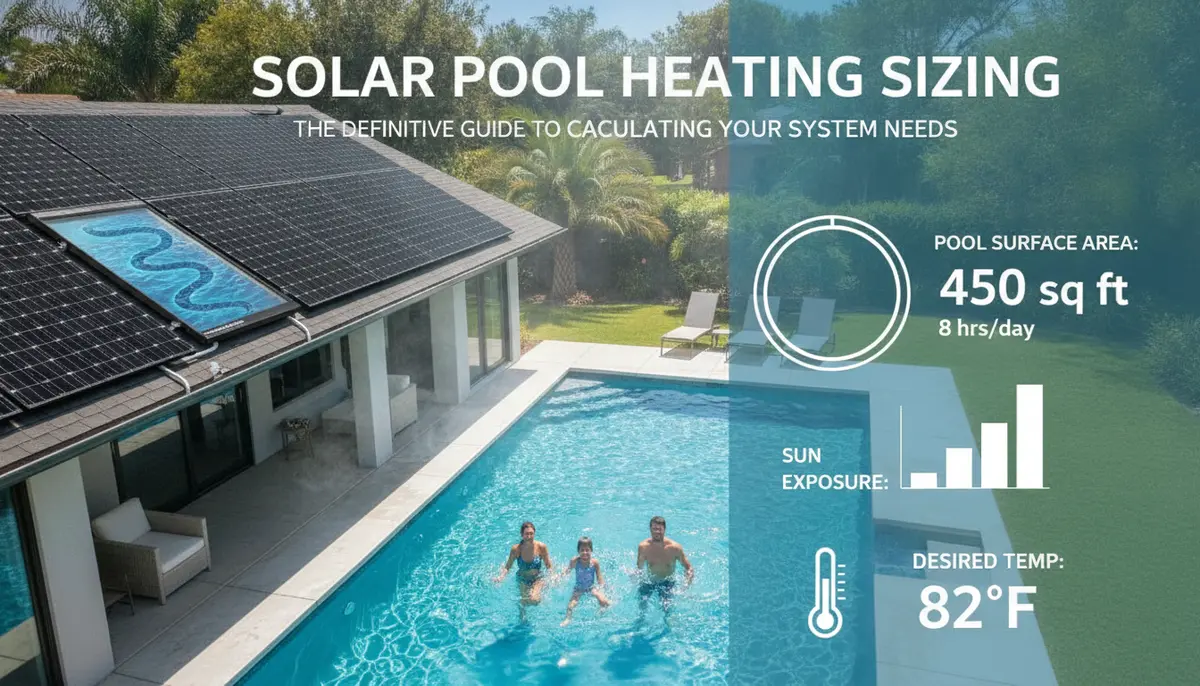
Solar Pool Heating Sizing: The Definitive Guide to Calculating Your System Needs
Why Precision Sizing is the Foundation of DIY Solar Success
When homeowners dive into the world of DIY solar pool heating, the most common mistake isn't in the plumbing or the pump selection—it’s in the math. Many builders rely on "rule of thumb" estimates that often lead to undersized systems that fail to reach comfortable temperatures, or oversized systems that waste roof space and money.
Sizing a solar pool heater isn't just about the volume of water in your pool. It is a complex interaction between surface area, geographic solar resource (insolation), panel orientation, and thermal retention strategies. According to data from industry standards and calculation tools like those found at Solar Panels Plus, a properly sized system can extend your swimming season by months, whereas an undersized one might only provide a negligible 2-3 degree increase.
In this guide, we will break down the technical variables required to calculate exactly how much collector area you need to turn your pool into a year-round oasis.
The Primary Metric: Surface Area vs. Volume
A common misconception is that the total gallons in a pool dictate the heater size. While volume determines the "thermal mass" (how much energy is required to raise the temperature of the body of water by one degree), the surface area is the primary driver of heat loss.
About 75% of a pool’s heat loss occurs at the surface through evaporation. Therefore, solar sizing is almost always expressed as a percentage of the pool's surface area.
Calculating Your Pool’s Surface Area
Before you buy a single panel, you need an accurate measurement:
- Rectangular Pools: Length x Width.
- Circular Pools: Radius x Radius x 3.14.
- Oval Pools: (Length x 0.5) x (Width x 0.5) x 3.14.
- Kidney or Irregular Shapes: Treat as a rectangle using the longest and widest points, then multiply by 0.85 to account for the curves.
Once you have this number, you have your baseline. For a deeper look at the physics behind these interactions, see our article on The Science of Solar Pool Heating: A DIY Guide to Efficiency and Design.
Understanding Solar Insolation and Geography
Not all sunlight is created equal. A 4x10 solar collector in Arizona will produce significantly more BTUs per day than the same panel in Maine. This is due to solar insolation, which is the amount of solar radiation reaching a given area.
When using a sizing calculator, you must account for your "Solar Zone."
- Zone 1 (Sunbelt): High insolation allows for smaller collector ratios (50-60% of surface area).
- Zone 2 (Mid-Latitudes): Moderate insolation requires a 70-80% ratio.
- Zone 3 (Northern Climates): Lower sun angles and shorter days often require 100% or more of the pool's surface area in collectors.
If you are building a system in a region with high wind or lower average ambient temperatures, you must skew your calculations toward the higher end of these percentages. Heat loss from wind (convection) can quickly strip away the gains made by your solar collectors.
The Impact of Orientation and Tilt
Where you place your panels is just as important as how many you have. The "Ideal" setup is a South-facing roof with a tilt equal to your latitude minus 10-15 degrees (for maximum summer gain).
Deviation Penalties
If your roof doesn't allow for the perfect South-facing installation, you must adjust your sizing to compensate for the loss in efficiency:
- West-Facing: Generally the second-best option as it catches the hot afternoon sun. Increase collector area by 10-15%.
- East-Facing: Catches morning sun but loses intensity when the pool needs it most. Increase area by 20-25%.
- Flat Roofs: While easy to install, flat panels don't catch the sun at an optimal angle. They are prone to debris buildup, which further reduces efficiency.
To ensure you are selecting the right hardware for your specific roof layout, consult The PoolHeatHacker Master Buying Guide: Essential Components for DIY Heating.
The Variable That Changes Everything: The Pool Cover
If there is one "secret weapon" in solar pool heating, it is the solar cover (or bubble blanket). Because evaporation is the leading cause of heat loss, a cover acts as a thermal barrier.
Using a pool cover consistently can allow you to reduce your solar collector area by nearly 50%. For example, a 15x30 pool in a moderate climate might require 450 square feet of solar panels without a cover, but could achieve the same temperature with only 225 square feet if a cover is used at night.
Why Covers Matter for Sizing Math
When you calculate your BTU requirements, you are essentially trying to outpace the BTU loss. If you stop the loss at the source (the surface), every BTU your solar panels provide stays in the water. This is the difference between a pool that is 78°F and one that is 85°F.
Step-by-Step Calculation Example
Let's walk through a practical example for a DIYer in a mid-latitude region (e.g., North Carolina).
- Pool Size: 16' x 32' Rectangular.
- Surface Area: 512 sq. ft.
- Desired Usage: Extend the season by 2 months.
- Orientation: West-facing roof.
- Cover Usage: Yes, used nightly.
Step 1: Determine Base Ratio. For this region, a 70% ratio is standard. Step 2: Adjust for Cover. Since a cover is used, we can reduce the requirement. We'll aim for a 50% ratio instead of 70%.
- 512 sq. ft. x 0.50 = 256 sq. ft. of collector area.
Step 3: Adjust for Orientation. A West-facing roof is ~15% less efficient than South.
- 256 sq. ft. x 1.15 = 294.4 sq. ft.
Step 4: Panel Selection. If using standard 4' x 10' panels (40 sq. ft. each):
- 294.4 / 40 = 7.36 panels.
Result: You should round up to 8 panels to ensure performance.
Hydraulic Considerations: Flow Rate and Pressure
Sizing your panels is only half the battle; you must also ensure your pool pump can move water through them. Large solar arrays create significant "head pressure," especially if they are mounted on a second-story roof.
If your system is sized correctly for heat but your flow rate is too low, the water will spend too long in the panels. While the water coming out of the return might feel very hot, the overall efficiency of the system drops because the collectors are operating at a much higher temperature than the ambient air, leading to heat loss from the panels themselves.
Conversely, if you have too many panels for your pump, you may experience backflow issues or poor distribution. To prevent damage to your filtration system, ensure you are Integrating a Check Valve: Preventing Backflow in DIY Pool Heating Systems.
Advanced Optimization: When to Automate
Once you have calculated your size and installed your panels, the next step in maximizing your ROI is automation. A manual system requires you to turn valves every time a cloud passes or the sun sets. If you leave the water running through the panels at night, your "heater" becomes a very effective "cooler."
For the technically inclined DIYer, using a microcontroller can bridge the gap between a basic setup and a professional-grade system. We've detailed this process in our guide on How to Automate Your DIY Heater with an Arduino: A Step-by-Step Technical Guide.
Final Thoughts: The "Over-Sizing" Margin
If your budget and roof space allow, it is almost always better to over-size a solar pool heating system by 10-20% than to under-size it. Environmental factors like unexpected wind, unseasonably cool weeks, or even dust accumulation on the panels can degrade performance.
By following the math—starting with surface area, adjusting for your solar zone, and accounting for your roof's orientation—you move from guesswork to engineering. A well-sized system doesn't just heat your pool; it transforms your backyard into a reliable, warm retreat without the sting of a monthly gas bill.