
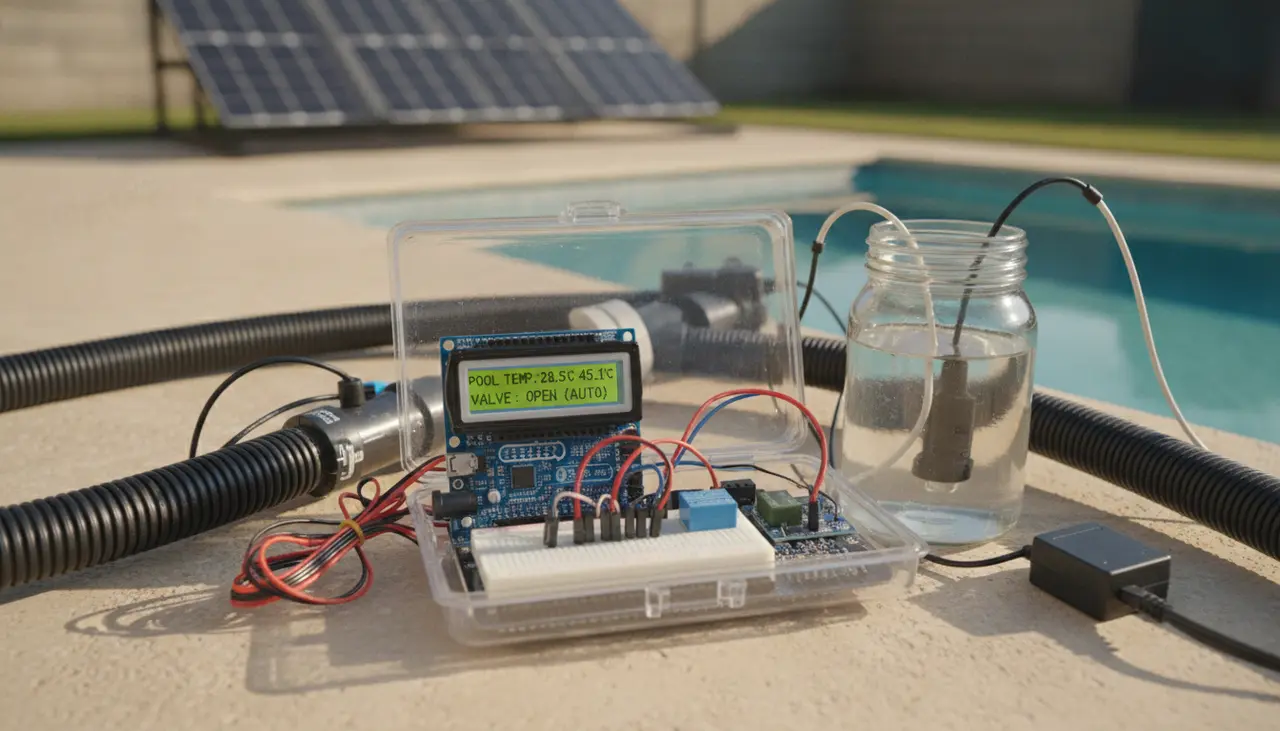
How to Automate Your DIY Heater with an Arduino: A Step-by-Step Technical Guide
To automate a DIY pool heater with an Arduino, you must implement a differential temperature controller. This system uses two waterproof DS18B20 sensors—one in the pool plumbing and one at the solar collector or heat exchanger—to monitor temperature differences. When the collector temperature exceeds the pool temperature by a set threshold (typically 5–10°F), the Arduino triggers a relay to open a motorized 3-way diverter valve or activate a dedicated booster pump.
Automating your system ensures that you maximize heat gain during peak solar hours and automatically bypass the heater when environmental conditions would otherwise strip heat from the water, such as at night or during rain.
Who This Guide Is For
This guide is designed for backyard pool owners who have already constructed a DIY heating solution, such as a black poly pipe solar array or a wood-fired heat exchanger, and want to eliminate the need for manual operation. You should have a basic understanding of low-voltage wiring and the ability to upload a sketch to an Arduino microcontroller.
Essential Components for Automation
Building a reliable controller requires specific hardware rated for the pool environment and continuous operation.
- Microcontroller: Arduino Uno or Nano (housed in an IP65-rated waterproof enclosure).
- Temperature Sensors: (2) DS18B20 Waterproof digital probes with 3-meter leads.
- Relay Module: 5V High/Low level trigger relay (rated for at least 10A at 120V/240V if switching a pump, or 12V/24V for an actuator).
- Motorized Valve: 3-way PVC diverter valve with a 24VAC or 12VDC actuator (Standard 1.5" or 2" ports).
- Resistor: 4.7k Ohm (required for the DS18B20 1-Wire data bus).
- Power Supply: 12V DC adapter for the Arduino and potential relay/actuator needs.
For a complete list of hardware specifications, refer to The PoolHeatHacker Master Buying Guide: Essential Components for DIY Heating.
Comparison: DIY Arduino vs. Commercial Solar Controllers
| Feature | DIY Arduino Controller | Commercial Solar Controller |
|---|---|---|
| Average Cost | $40 - $70 | $250 - $500 |
| Customization | High (Adjustable Delta-T, OLED displays) | Low (Fixed settings) |
| Ease of Install | Requires wiring/coding knowledge | Plug-and-play |
| Durability | Dependent on enclosure quality | High (UV-rated housings) |
| Sensors | Digital (DS18B20 - High Accuracy) | Analog (10k Thermistors) |
Step-by-Step Implementation
1. Wiring the Sensors
The DS18B20 sensors use the 1-Wire protocol. Connect the VCC (Red) to 5V, GND (Black) to Ground, and the Data (Yellow/White) to Digital Pin 2 on the Arduino. Place the 4.7k Ohm resistor between the VCC and Data lines to pull the signal high.
- Sensor A (Pool): Install in a PVC tee after the pool filter but before the heater bypass.
- Sensor B (Collector): Attach directly to the output pipe of the solar collector or inside the collector box to measure potential heat.
2. Logic and Thresholds (The "Delta-T")
The logic follows a simple differential calculation. To prevent "short-cycling" (the pump turning on and off rapidly), you must program a "Turn-On Delta" and a "Turn-Off Delta."
- Turn-On Delta: Collector Temp > (Pool Temp + 8°F).
- Turn-Off Delta: Collector Temp < (Pool Temp + 3°F).
This prevents the system from running if the heat gain is negligible, which saves electricity and reduces wear on the pump or actuator. To calculate the specific BTU requirements of your setup and how these thresholds impact total heat gain, consult our technical guide on the science of solar heating.
3. Actuating the Flow
When the logic is met, the Arduino sends a signal to the relay.
- If using a secondary pump: The relay closes the circuit to the pump's power source.
- If using a 3-way valve: The relay switches the actuator to the "Solar" position.
When plumbing these components, integrating a check valve is critical. Without it, water may drain back from elevated solar collectors when the system is off, creating air locks and increasing head pressure requirements upon restart.
Practical Tradeoffs
Pros:
- Efficiency: Prevents the heater from acting as a radiator and cooling the pool at night.
- Accuracy: Digital sensors are less prone to signal drift than analog thermistors over long cable runs.
- Data Logging: Arduino can be paired with an SD card or WiFi module (ESP8266) to track heat gain over time.
Cons:
- Maintenance: DIY electronics require a moisture-proof housing; humidity in a pump shed can corrode exposed pins.
- Power Failures: Unlike manual valves, an automated system requires a fail-safe (e.g., normally-closed relay) to ensure the pool doesn't overheat or freeze if the controller loses power.
Beginner Mistakes to Avoid
- Improper Sensor Placement: Mounting the collector sensor on the exterior of a pipe without insulation. This leads to inaccurate readings due to wind chill. Always use thermal paste and wrap the sensor in foam insulation.
- Undersized Power Supply: Standard Arduino USB power is often insufficient to trigger a 12V relay and move a heavy PVC valve actuator simultaneously. Use a dedicated 12V 2A power supply.
- Ignoring Voltage Drop: If your solar collector is 50 feet away, the voltage drop over thin sensor wires can cause "Device Not Found" errors. Use shielded 18-gauge wire for long runs.
FAQ
Q: Can I use an Arduino to control a wood-fired heater? A: Yes, but the logic changes. You must include a high-limit safety cut-off. If the water temperature in the heat exchanger exceeds 140°F, the system should force-circulate the water regardless of the pool temperature to prevent steam expansion and PVC melting.
Q: What is the best pipe diameter for the sensor housing? A: Most DIYers use a 1/2" NPT stainless steel thermowell threaded into a 1.5" or 2" PVC tee. This allows you to slide the DS18B20 sensor in and out without draining the pool.
Q: How do I protect the Arduino from the elements? A: Use a NEMA 4X or IP65 rated junction box. Use cable glands (liquid-tight connectors) for every wire entering or exiting the box to prevent moisture ingress and insect nesting.
Affiliate Disclosure: This post contains affiliate links for microcontrollers, sensors, and plumbing components. We may earn a commission at no extra cost to you if you purchase through these links.