
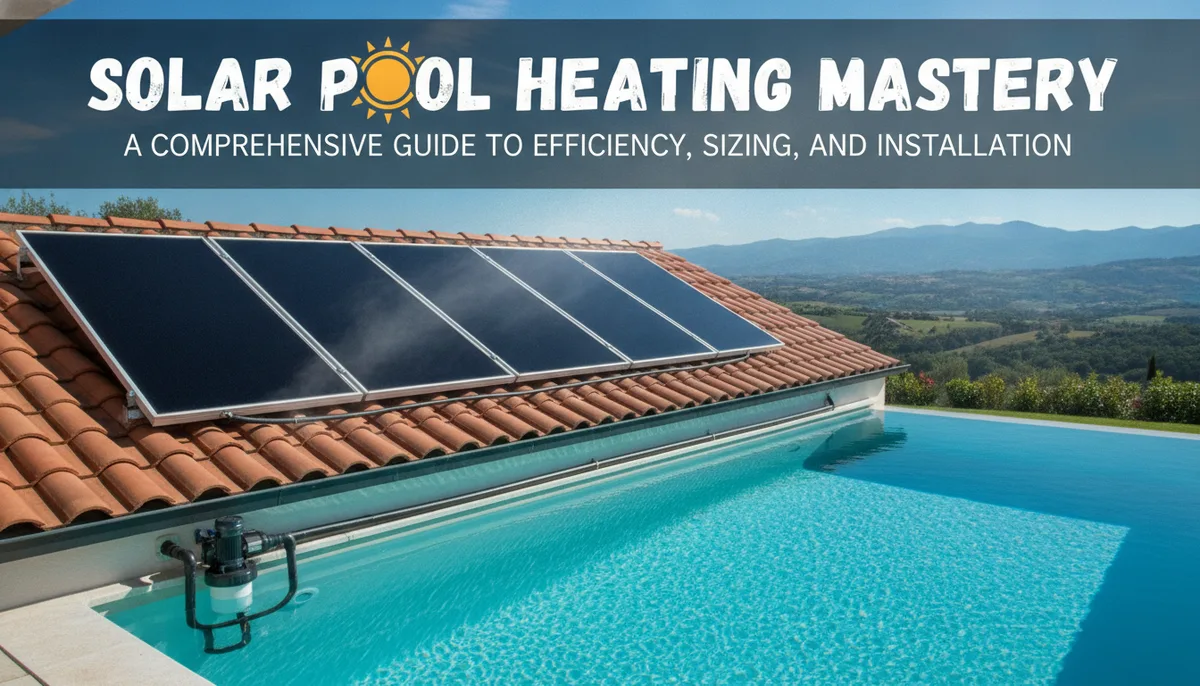
Solar Pool Heating Mastery: A Comprehensive Guide to Efficiency, Sizing, and Installation
Solar energy is often touted as the future of home utility management, but for pool owners, that future is already here. Solar pool heating represents one of the most cost-effective and efficient applications of solar thermal technology available today. Unlike high-temperature solar water heaters used for domestic taps, pool heating operates at relatively low temperatures, allowing for simpler, more durable designs that can provide a massive return on investment.
By understanding the technical nuances of collector design, sizing, and orientation, you can transform your backyard into a self-sustaining oasis. This guide explores the engineering principles and practical steps required to master solar pool heating.
The Science of Low-Temperature Solar Thermal
The core principle behind solar pool heating is the transfer of solar radiation into moving water. Unlike photovoltaic (PV) panels that convert sunlight into electricity, solar thermal collectors absorb infrared radiation to heat a fluid directly.
In a pool system, the pool water itself acts as the heat transfer fluid. It is pumped from the pool, through a filter, and then diverted through the solar collectors. Because pools only need to be heated to between 78°F and 85°F (25°C to 29°C), the collectors do not need the expensive insulation or glass "glazing" required for domestic hot water systems.
To dive deeper into the physics of heat transfer and fluid dynamics in these systems, see our detailed breakdown in The Science of Solar Pool Heating: A DIY Guide to Efficiency and Design.
Unglazed vs. Glazed Collectors
For the vast majority of pool owners, unglazed collectors are the superior choice. These are typically made of heavy-duty polypropylene or EPDM rubber, treated with UV inhibitors.
- Unglazed: Highly efficient at low temperatures (where the difference between the water and the air is minimal). They are cheaper, lighter, and easier to install.
- Glazed: These feature a glass cover and an insulated back box. While they are necessary for year-round heating in freezing climates or for domestic hot water, they are overkill—and often less efficient—for standard summer pool use because they can trap too much heat and are prone to damage.
Sizing Your System for Real-World Performance
The most common mistake in DIY solar heating is undersizing the collector array. If the surface area of your collectors is too small, the heat gain will be negligible, especially during the shoulder seasons (spring and fall) when you need it most.
The Surface Area Rule
As a baseline, your collector surface area should be 50% to 100% of the pool’s surface area.
- 50% Coverage: Suitable for regions with high solar irradiance (like Florida or Arizona) where the pool is screened or covered at night.
- 80-100% Coverage: Necessary for northern climates, windier locations, or if you desire a significantly longer swimming season.
Consider a 15' x 30' rectangular pool. The surface area is 450 square feet. To achieve meaningful heat gain, you would need between 225 and 450 square feet of solar collectors. If you are using standard 4' x 10' panels (40 sq. ft. each), you would need between 6 and 11 panels.
Environmental Factors
Several variables can shift your sizing requirements:
- Wind Speed: High wind across the pool surface causes evaporative cooling, which is the primary source of heat loss. If your pool is in a windy area, increase your collector size.
- Desired Temperature: If you prefer your water at 86°F rather than 80°F, you must increase the collector area to compensate for the higher heat loss to the atmosphere.
- Shading: If the pool itself is shaded for part of the day, it isn't receiving natural solar gain, putting more pressure on the heating system.
Orientation, Tilt, and Placement
Where you put your collectors is just as important as how many you have. The goal is to maximize the amount of solar radiation hitting the collector surface throughout the day.
Optimal Orientation
In the northern hemisphere, South-facing is the gold standard. A southern exposure captures the most intense sunlight during the middle of the day.
- West-facing: This is the second-best option. While it misses the morning sun, it captures the intense afternoon heat when ambient temperatures are already high, resulting in very efficient heat transfer.
- East-facing: Useful if you primarily use the pool in the early afternoon, but less effective overall than west or south.
- North-facing: Generally avoided unless the roof pitch is very shallow (less than 10 degrees).
Tilt Angle
While the "perfect" tilt angle is usually equal to your latitude, solar pool heaters are remarkably forgiving. Because they are primarily used during the summer when the sun is high in the sky, a flatter tilt (between 10 and 30 degrees) often performs exceptionally well. If you are mounting panels on a standard roof, the existing pitch is usually sufficient.
For those looking to modernize an existing setup or install a more robust framework, check out DIY Solar Pool Heating: Modernizing Legacy Designs for Maximum Efficiency.
Integration with Existing Pool Plumbing
Integrating a solar heater into your existing equipment pad requires a few key components: a diverter valve, a check valve, and temperature sensors.
The Flow Path
Water should follow this path:
- Pump: Pulls water from the pool.
- Filter: Removes debris before the water enters the small channels of the solar collectors.
- Diverter Valve (3-Way Valve): This valve decides whether the water goes straight back to the pool or up to the solar collectors.
- Collectors: Water is heated as it travels through the array.
- Check Valve: Crucial for preventing water from draining backward through the filter when the pump shuts off.
To understand the critical role of the check valve in preventing system damage, refer to Integrating a Check Valve: Preventing Backflow in DIY Pool Heating Systems.
Automation and Control
Manual operation of a solar heater is inefficient. If you forget to turn the system off when a cloud bank rolls in or when the sun goes down, the collectors will actually act as a radiator, cooling your pool.
An automatic controller uses two sensors—one for the pool water and one for the solar collectors. When the collector temperature is significantly higher than the pool temperature (usually by 4-6 degrees), the controller actuates a motorized valve to send water to the roof.
For the technically inclined, building your own controller is a rewarding project. Learn more in our guide: How to Automate Your DIY Heater with an Arduino: A Step-by-Step Technical Guide.
Maintenance and Longevity
Solar thermal systems are known for their longevity, often lasting 15 to 20 years with minimal maintenance. However, there are three "system killers" you must watch out for:
1. Scaling and Chemical Balance
Pool water is chemically active. If your pH or calcium hardness is out of balance, scale can build up inside the narrow tubes of the collectors. This restricts flow and reduces heat transfer. Maintain your pool chemistry within the recommended ranges (pH 7.4–7.6) to protect your investment.
2. Stagnation
If water sits in the collectors under the hot sun without circulating, it can reach extremely high temperatures. While polypropylene is durable, constant stagnation at high temperatures can lead to premature degradation. Always ensure the system is either fully bypassed and drained or actively circulating during peak sun hours.
3. Freeze Protection
In climates where temperatures drop below freezing, the collectors must be drained for the winter. Most professional installations use "automatic drain-down" designs where air is allowed into the system via a vacuum relief valve, letting the water flow back into the pool when the pump is off. If your system is not self-draining, you must manually blow out the lines before the first frost.
Conclusion: The ROI of Solar Heating
The initial cost of a solar pool heating system is higher than a gas heater, but the operational cost is nearly zero. Aside from a slight increase in pump electricity (to overcome the "head" or height of the roof), the energy from the sun is free.
Most homeowners find that a solar system pays for itself in fuel savings within 2 to 4 years. Beyond the financial benefits, solar heating offers a silent, carbon-neutral way to enjoy your pool for months longer than your neighbors. By focusing on proper sizing, Southern orientation, and automated controls, you can ensure your DIY or professional installation provides maximum comfort for decades to come.