
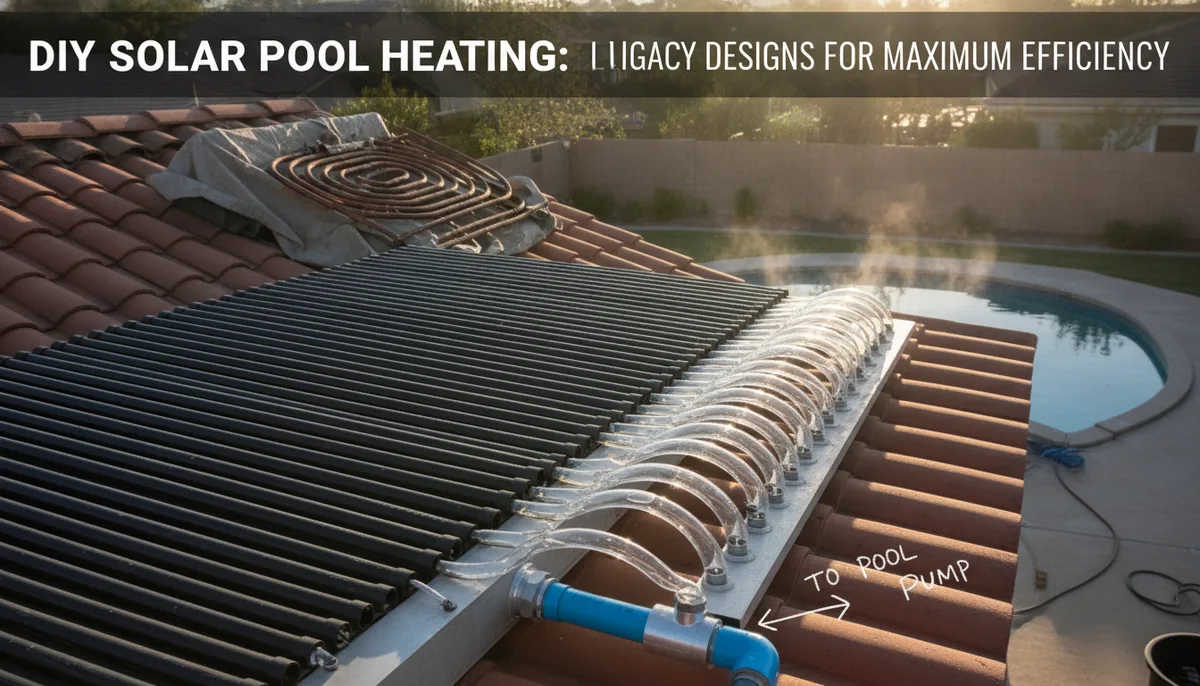
DIY Solar Pool Heating: Modernizing Legacy Designs for Maximum Efficiency
The Legacy of DIY Solar: Beyond the Broken Links
For decades, the DIY solar community has been a hotbed of innovation. Sites like BuildItSolar have served as massive repositories for experimental designs, ranging from simple "black hose on a roof" setups to complex glazed copper collectors. However, as the digital landscape shifts, many of these classic guides have fallen into disrepair, with dead links and outdated material recommendations leaving modern DIYers in the dark.
The challenge today isn't finding any design; it’s finding a design that stands the test of time and utilizes modern materials. Transitioning from a legacy "experimental" mindset to a "reliable utility" mindset is the key to successfully heating your pool without constant maintenance headaches. To understand the core principles of how these systems actually move heat, it is helpful to review The Science of Solar Pool Heating: A DIY Guide to Efficiency and Design, which bridges the gap between old-school concepts and modern thermal physics.
Troubleshooting Common Failures in Legacy DIY Designs
Many DIY solar heaters built 10 or 15 years ago are now reaching the end of their functional life. If you are inheriting an older system or trying to revive a design found in an internet archive, you must look for three primary failure points:
UV Degradation and Material Fatigue
Legacy designs often relied on standard black polyethylene (PE) irrigation tubing. While cost-effective, non-UV-stabilized plastics become brittle after 5–7 years of direct sun exposure. If the tubing feels "crunchy" or shows white chalky residue, it is prone to catastrophic bursting under pump pressure.
Scaling and Internal Blockages
In areas with hard water, the small-diameter tubes used in many DIY collectors act as mineral traps. As water evaporates or sits stagnant in the tubes during the off-season, calcium deposits build up, eventually choking the flow. This increases "head pressure," forcing your pump to work harder while moving less water.
Poor Manifold Balancing
A common flaw in early DIY designs was the "serial" layout—hooking one long coil of pipe after another. This creates massive resistance. Modernized systems use a "parallel" manifold design, where water is split across many shorter paths, ensuring even heat distribution and low backpressure.
Hydraulics: Why Flow Rate Trumps Temperature
The most common mistake a DIYer makes is assuming that "burning hot" water coming out of the return line means the heater is working well. In reality, the opposite is often true.
If the water returning to the pool is 120°F, it means the water is moving too slowly through the collector. While it feels impressive, you are losing a significant amount of heat to the surrounding air through radiation and convection because the collector is so much hotter than the ambient temperature.
To maximize efficiency, you want a high flow rate. The goal is a "Delta T" (temperature difference) of only 2 to 5 degrees Fahrenheit between the pool water and the return water. By moving a large volume of water that is only slightly warmed, the collector stays cooler, which actually allows it to absorb more solar energy more efficiently. For those looking to build or upgrade, selecting the right hardware is the first step. Consult The PoolHeatHacker Master Buying Guide: Essential Components for DIY Heating for a breakdown of modern components that handle these high flow rates.
Critical Components for a Modern DIY Build
To move away from the "broken link" era of DIY solar, you need to integrate components that provide automation and protection. A modern system is more than just a pipe; it is a managed hydraulic loop.
The Diverter Valve and Automation
Instead of manually turning valves when the sun comes out, modern DIYers use a solar controller with two sensors: one for the pool water and one for the solar collector. When the collector is at least 4–6 degrees warmer than the pool, an automated actuator turns a 3-way valve to send water to the roof.
Vacuum Relief Valves
When the pump shuts off, the water in the solar collectors wants to rush back down to the pool, creating a vacuum in the pipes on the roof. Without a vacuum relief valve, this suction can actually collapse thin-walled tubing or suck debris into the system. A simple air-release valve at the highest point of the system prevents this.
Backflow Prevention
Backflow is the silent killer of pool pumps. When the system shuts down, the weight of the water in the vertical pipes can spin a pump impeller backward, causing mechanical damage. Integrating a Check Valve: Preventing Backflow in DIY Pool Heating Systems is a non-negotiable step for any system where the collectors are located on a roof or elevated rack.
Material Selection: PVC, EPDM, and Polypropylene
The "black hose" method is a classic, but it is rarely the best choice for a permanent installation. If you are designing a system today, consider these three material tiers:
- EPDM Rubber Mats: These are the gold standard for DIYers. They come in pre-sized rolls with integrated manifolds. They are highly resistant to UV, chemicals, and freezing. They offer the best surface-area-to-water-volume ratio.
- Rigid Polypropylene Panels: These are often used in professional installations but are available to DIYers. They are incredibly durable and can handle higher pressures, making them ideal for multi-story homes.
- Modified PVC (SDR-21): If you are building a custom-shaped collector, thin-walled PVC painted with specialized solar-selective black paint can work, though it requires more labor and is prone to cracking if the ground shifts.
Winterization and Long-Term Maintenance
A DIY system is only as good as its ability to survive the winter. Legacy designs often failed because they weren't "self-draining." If water is trapped in a horizontal pipe or a sagging collector mat during a freeze, the expanding ice will split the material.
To ensure longevity:
- Pitch the Collectors: Ensure all horizontal runs have a slight slope toward the feed and return lines.
- Install Drain Down Valves: At the lowest point of the solar loop (near the equipment pad), install a T-fitting with a threaded plug or ball valve to manually drain any remaining water in the autumn.
- Annual Inspections: Check all PVC unions and rubber couplings for signs of dry rot. Replacing a $5 coupling in the spring is much better than dealing with a roof leak in July.
Conclusion: Building for the Next Decade
The era of experimental, "hope it works" DIY solar is over. By focusing on high flow rates, UV-stabilized materials, and proper hydraulic protection like check valves and vacuum relief, you can build a system that rivals professional installations at a fraction of the cost. Don't let the dead links of the past discourage you—modern DIY solar pool heating is more efficient and accessible than ever before. Focus on the physics of heat transfer and the durability of your components, and you'll enjoy a warm pool for many seasons to come.