
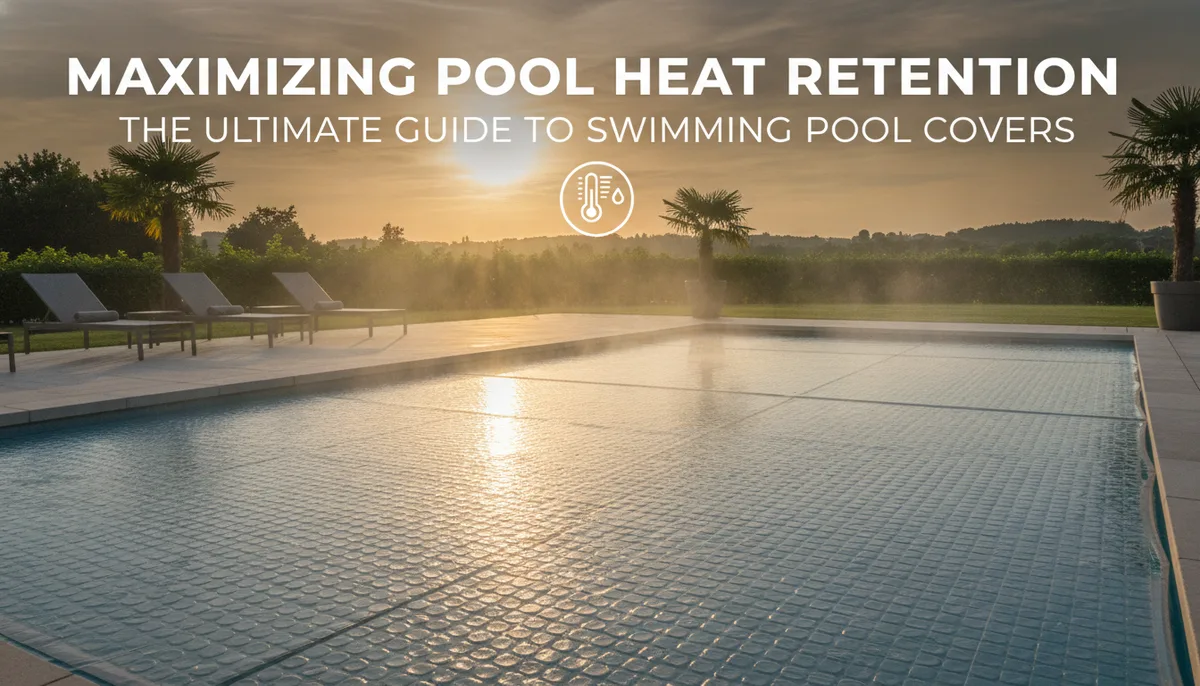
Maximizing Pool Heat Retention: The Ultimate Guide to Swimming Pool Covers
The Leaky Bucket: Why Your Pool Heater is Only Half the Battle
Imagine trying to fill a bucket with water while it has a massive hole in the bottom. You could use a high-pressure fire hose (a massive heater) to keep it full, but the moment you turn the hose off, the water level drops. This is exactly how most pool owners approach heating. They focus entirely on the input—the BTU output of their gas heater or the surface area of their DIY solar collectors—while completely ignoring the output—the massive energy loss occurring at the surface of the water.
According to data from the U.S. Department of Energy, evaporation is responsible for a staggering 70% of total energy loss in both indoor and outdoor pools. When water turns into vapor, it takes a tremendous amount of energy with it (latent heat of vaporization). If you aren't covering your pool, you are essentially paying to heat the atmosphere, not your water.
For the DIY enthusiast, a pool cover isn't just an accessory; it is a critical component of the system. If you’ve spent time learning The Science of Solar Pool Heating: A DIY Guide to Efficiency and Design, you know that efficiency is about more than just collection—it's about storage. A pool cover turns your swimming pool into a thermal battery, holding onto the gains you worked so hard to generate during the day.
The Physics of Heat Loss: Evaporation, Radiation, and Convection
To understand why a thin sheet of plastic is so effective, we have to look at the three ways a pool loses heat:
- Evaporation (70%): As mentioned, this is the primary culprit. The rate of evaporation increases with higher water temperatures, lower humidity, and higher wind speeds across the pool surface.
- Radiation (20%): This occurs when the pool surface is warmer than the sky. On clear nights, the heat literally radiates out of the water into space.
- Convection (10%): This is the transfer of heat to the air moving over the pool surface. Think of it like blowing on a hot cup of coffee.
A pool cover acts as a physical vapor barrier. By stopping the water molecules from escaping into the air, it virtually eliminates evaporative cooling. Furthermore, it creates an insulating layer of air (in the case of bubble covers) that reduces heat loss via radiation and convection.
Choosing the Right Cover for Your DIY Setup
Not all covers are created equal. Depending on your climate, your DIY heating system, and your budget, you’ll want to choose a cover that aligns with your goals.
1. Bubble (Solar) Covers
These are the most common and cost-effective options for heat retention. They look like heavy-duty bubble wrap and are designed to float on the water's surface.
- How they work: The bubbles create an insulating air gap, while the translucent material allows solar energy (short-wave radiation) to pass through and heat the water.
- Pros: Cheap, lightweight, and highly effective at stopping evaporation.
- Cons: They can be cumbersome to take off and put on without a reel, and they have a limited lifespan (usually 3–6 years) due to UV degradation.
2. Vinyl and Opaque Covers
Vinyl covers are typically heavier and more durable than bubble covers.
- How they work: Because they are opaque, they absorb solar energy themselves rather than letting it through to the water. While they still stop evaporation, they aren't as efficient at "passive" solar heating as a clear bubble cover.
- Pros: Excellent durability and often serve double-duty as safety covers if they are track-mounted.
- Cons: Heavier and more expensive.
3. Automatic Pool Covers
For those looking for the ultimate convenience, automatic covers use a motor and a track system to deploy the cover at the touch of a button.
- How they work: Usually made of reinforced vinyl, these provide a tight seal over the pool.
- Pros: High safety rating and maximum convenience.
- Cons: Extremely high initial cost and requires professional installation.
If you are currently sourcing parts for your heating system, check out The PoolHeatHacker Master Buying Guide: Essential Components for DIY Heating to see where a cover fits into your overall budget and equipment list.
Indoor Pools: The Hidden Benefit of Covers
A common misconception is that indoor pools don't need covers because they aren't exposed to the wind or "the elements." In reality, a cover is arguably more important for an indoor pool.
Without a cover, the moisture from the pool constantly evaporates into the indoor air. To prevent mold, mildew, and structural damage, the room requires a massive ventilation system and a dehumidifier. These systems are incredibly expensive to run. By using a cover, you can turn off or significantly dial back the ventilation when the pool isn't in use, leading to massive savings on your electric bill.
Synergy: How Covers Enhance DIY Solar Heaters
If you are running a DIY solar heater—perhaps one you've modernized using DIY Solar Pool Heating: Modernizing Legacy Designs for Maximum Efficiency—the pool cover acts as your "system multiplier."
During the peak of the day, your solar collectors are pumping heat into the pool. If the pool is uncovered, a significant portion of that energy is being lost to evaporation simultaneously. By covering the pool while the solar heater is running (or even just at night), you ensure that the net energy gain is positive.
In many climates, a solar heater combined with a high-quality cover can extend the swimming season by two to three months. Without the cover, the heater might only manage to keep the pool "lukewarm" rather than "comfortable."
Maintenance and Best Practices
To get the most out of your pool cover, follow these operational guidelines:
- Monitor Chemical Levels: Because covers prevent evaporation, chemicals like chlorine don't dissipate as quickly. You will need to test your water more frequently and likely reduce your chemical input by 35%–60%.
- The "Superchlorination" Rule: Never put a cover on immediately after shock-treating your pool. High levels of chlorine can degrade the cover material. Wait until chlorine levels return to the normal range (1–3 ppm).
- Storage Matters: When the cover is off, keep it in the shade or under a white protective sheet. Direct sunlight on a folded or rolled-up bubble cover can create a "magnifying glass" effect that melts the plastic.
- Clean and Dry: Before storing your cover for the winter, clean it with mild soap and water to remove salt or chlorine residue, and let it dry completely to prevent mold.
The Bottom Line: ROI of a Pool Cover
In the world of DIY pool heating, we often focus on the "cool" tech—the pumps, the manifolds, and the controllers. However, the humble pool cover offers the highest return on investment of any single piece of equipment.
By saving 50%–70% on heating costs, a standard bubble cover usually pays for itself within a single season. It reduces water waste, lowers your chemical bill, and—most importantly—ensures that the heat you work so hard to generate actually stays where it belongs: in the water.
Whether you are building a high-tech automated system or a simple black-hose solar array, don't let your hard-earned BTUs vanish into thin air. Cover your pool, trap the heat, and enjoy a longer, warmer swimming season.