
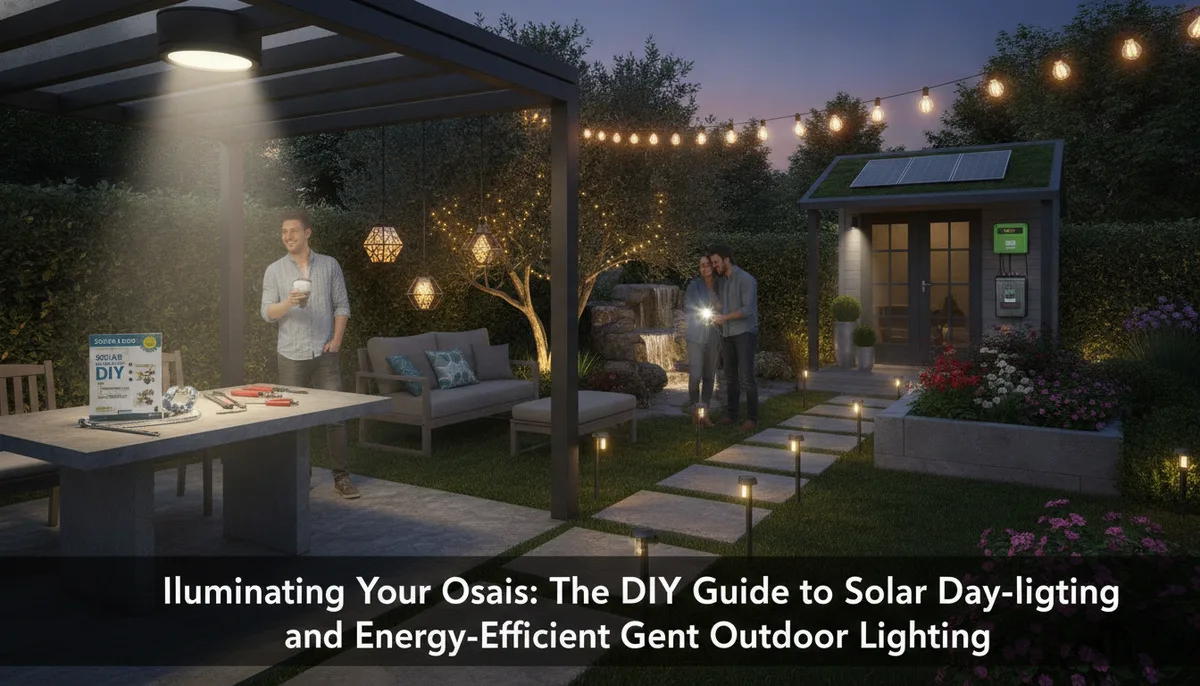
Illuminating Your Oasis: The DIY Guide to Solar Day-lighting and Energy-Efficient Outdoor Lighting
The New Frontier of DIY Solar Lighting
For the dedicated DIYer, the sun is more than just a source of heat for a pool; it is a primary resource for transforming the atmosphere and functionality of the entire home environment. While many focus on solar thermal applications for water heating, the field of solar lighting—encompassing both passive day-lighting and active photovoltaic (PV) systems—offers some of the most rewarding and cost-effective projects available.
Lighting accounts for a significant portion of residential energy consumption. By pivoting to solar-based solutions, you aren't just saving pennies on the utility bill; you are enhancing the quality of light in your living spaces and reducing the carbon footprint of your "oasis." This guide explores the technical foundations and practical applications of solar lighting, from the physics of light shelves to the installation of high-efficiency LED arrays.
Understanding Day-lighting: Passive Solar Illumination
Day-lighting is the practice of placing windows, skylights, and reflective surfaces so that natural light (both direct and diffuse) provides effective internal lighting. Unlike solar panels that convert light to electricity, day-lighting uses the light itself.
The Physics of Light Shelves
One of the most underutilized DIY projects in the solar world is the light shelf. A light shelf is a horizontal light-reflecting overhang placed above eye level. Its purpose is to shade the lower part of a window (reducing glare) while reflecting sunlight off its top surface and onto the ceiling.
This "bounce" effect allows natural light to penetrate much deeper into a room—up to 2.5 times the height of the window. For a pool house or a home office overlooking the deck, a light shelf can eliminate the need for overhead electric lights during the day.
- Materials: You can construct light shelves using high-reflectance materials like polished aluminum or even high-gloss white painted plywood.
- Placement: They are most effective on south-facing windows (in the Northern Hemisphere) where the sun's angle is most consistent.
Tubular Daylighting Devices (TDDs)
If you have a windowless bathroom near your pool or a dark hallway, a tubular skylight is a game-changer. These devices use a rooftop dome to capture sunlight, which then travels down a highly reflective "light pipe" to a ceiling diffuser.
The advantage of TDDs over traditional skylights is thermal efficiency. Because the surface area is smaller, there is less heat loss in the winter and less heat gain in the summer, maintaining the thermal envelope of your home. This focus on efficiency mirrors the principles found in Harnessing the Sun: The Ultimate DIY Guide to Solar Cooking and Thermal Efficiency, where maximizing every photon is the key to success.
Active Solar Lighting: Photovoltaics and LEDs
When the sun goes down, passive day-lighting ends, and active solar systems take over. A DIY solar lighting system for a pool deck or backyard consists of four main components: the solar panel, the charge controller, the battery, and the LED fixtures.
Why LEDs are Essential
In the early days of solar lighting, the low energy density of batteries made it difficult to provide bright, long-lasting light. The advent of high-efficiency LEDs changed the landscape. LEDs convert electricity into light with very little heat waste. For a DIYer, this means you can use smaller, less expensive batteries and panels to achieve professional-grade brightness.
When selecting LEDs for your outdoor space, look for the "Lumens per Watt" rating. A high-quality LED should provide at least 100 lumens per watt.
Battery Storage and System Sizing
To ensure your lights stay on through a string of cloudy days, you need to size your battery bank correctly. For outdoor lighting, deep-cycle AGM or Lithium Iron Phosphate (LiFePO4) batteries are preferred due to their ability to handle repeated discharge cycles.
If you are already familiar with the hardware requirements for pool systems, as detailed in The PoolHeatHacker Master Buying Guide: Essential Components for DIY Heating, you will find the electrical logic similar. You must balance your "harvest" (solar panel output) with your "load" (LED power consumption).
DIY Fiber Optic Solar Lighting
For those looking for a truly unique pool feature, fiber optic lighting offers a way to bring sunlight directly into the water or onto the deck without any electrical risk near the pool.
A "Solar Fiber Optic" system uses a parabolic collector or a Fresnel lens to concentrate sunlight into a bundle of optical fibers. These fibers can then be run to various points around the pool.
- Daytime use: It creates a shimmering, natural light effect underwater.
- Nighttime use: You can swap the solar collector for a high-intensity LED light source at the "head" of the fiber bundle, allowing the same fibers to illuminate the pool at night.
This method is inherently safe because no electricity is carried through the fibers themselves, making it an ideal project for DIYers concerned with pool safety.
Integrating Lighting with Thermal Efficiency
One of the most common mistakes in DIY solar projects is viewing systems in isolation. Lighting, heating, and cooling are all interconnected.
For instance, a traditional large skylight might provide great light, but it can also act as a massive heat leak. If you are working to keep your pool area warm or your home cool, these "thermal holes" can sabotage your efforts. By using TDDs or light shelves, you provide the necessary illumination while preserving the insulation properties of your roof and walls.
This holistic approach to DIY engineering is what separates a "handyman" project from a professional-grade sustainable system. Whether you are building a solar heater or installing a lighting array, the goal is always to maximize the utility of the sun's energy while minimizing waste.
Practical Steps for Your First DIY Solar Lighting Project
If you're ready to start, follow this logical progression to ensure a successful installation:
- Site Assessment: Use a solar pathfinder or a mobile app to identify the areas of your roof or yard that receive the most unobstructed sunlight throughout the year.
- Define the Load: Calculate how many hours of light you need and at what brightness (lumens). This determines your battery and panel size.
- Choose Your Method: Decide between passive day-lighting (to reduce daytime energy use) or active PV lighting (for nighttime safety and aesthetics).
- Prototype: Before drilling holes in your roof for a TDD or mounting a large panel, set up a temporary version of your circuit on the ground to test the brightness and battery duration.
- Weatherproofing: Outdoor DIY projects fail most often at the joints. Use UV-rated conduit for wiring and high-quality silicone sealants for any roof penetrations.
Conclusion: The Bright Future of DIY Solar
Solar lighting is the perfect entry point for anyone looking to expand their DIY repertoire beyond pool heating. It combines the physics of optics with the practical skills of electrical wiring and structural installation. By implementing day-lighting strategies and high-efficiency LED systems, you create a space that is not only beautiful and functional but also a testament to the power of sustainable engineering.
As you continue to refine your outdoor oasis, remember that the best systems are those that work in harmony with the environment. From the way light bounces off a shelf to the way a battery stores the day's harvest, every component is a piece of the puzzle in creating a truly energy-independent home.