
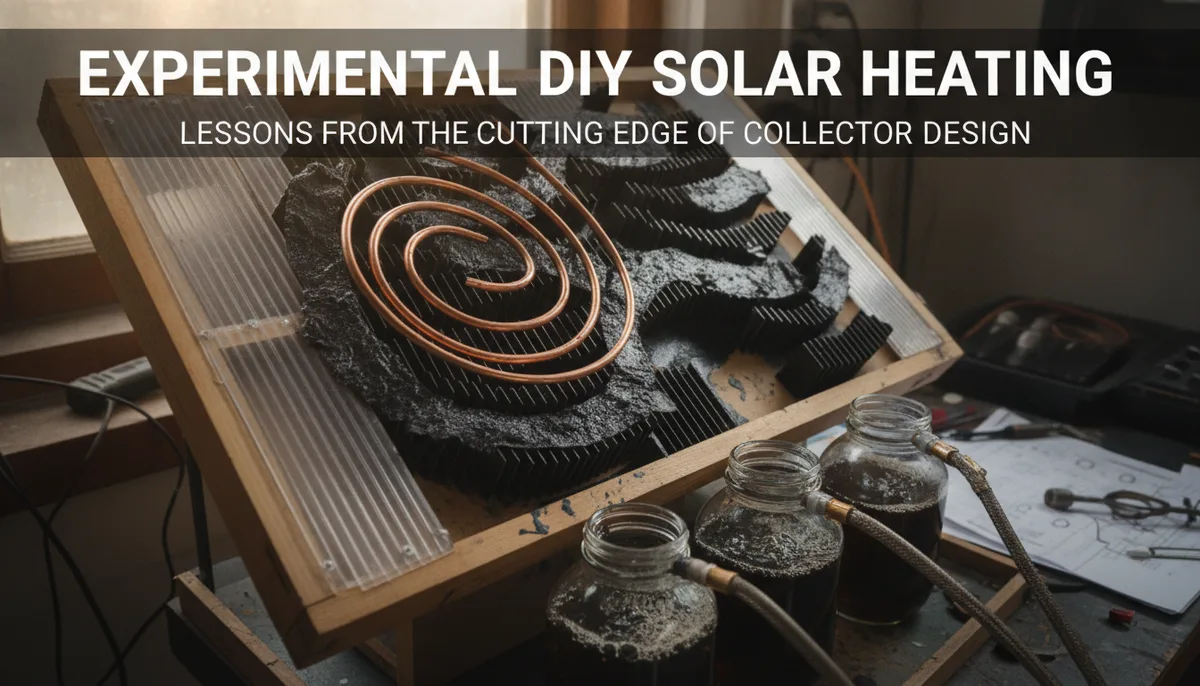
Experimental DIY Solar Heating: Lessons from the Cutting Edge of Collector Design
The Experimental Mindset: Beyond the Standard Solar Mat
Most backyard engineers begin their journey with a simple roll of black poly pipe or a commercial plastic solar mat. While these are effective entry points, the world of experimental solar heating offers a much deeper well of efficiency for those willing to prototype and test. Drawing from the rigorous testing environments seen in the BuildItSolar experimental archives, we can see that the difference between a "warm-ish" pool and a steaming oasis often comes down to how well you manage heat gain versus heat loss.
Experimental DIY solar isn't just about building; it's about measuring. When we move into experimental territory, we stop guessing and start using thermocouples, flow meters, and data loggers to understand exactly how many BTUs our collectors are harvesting. This guide explores the technical frontiers of DIY solar heating, focusing on the variables that move the needle on performance.
Glazing Materials: Balancing Transmission and Insulation
One of the most significant leaps in DIY collector performance comes from adding glazing—a transparent cover that creates a greenhouse effect. Without glazing, a collector loses a massive amount of heat to the wind (convection) and the air (conduction). However, not all glazing is created equal.
Polycarbonate vs. Glass
In experimental setups, the choice often comes down to polycarbonate or tempered glass.
- Tempered Glass: Offers the highest solar transmittance (especially low-iron versions) and does not degrade under UV light. However, it is heavy, difficult to cut, and prone to shattering if the frame flexes.
- Multi-wall Polycarbonate: This is the darling of the experimental community. The "cells" within the sheets provide an insulating layer of air, significantly reducing heat loss in breezy conditions. While it has slightly lower light transmission than glass, its durability and insulating properties often result in higher net heat gain for pool applications.
Film Glazing and Double Glazing
For those on a budget, high-performance films like Tedlar or even heavy-duty greenhouse plastics are used. Experimental data suggests that "double glazing" (two layers of transparent material with an air gap) can be incredibly effective in cold climates, though it may be overkill for summer pool heating as it can lead to stagnation temperatures high enough to melt PVC components.
The Absorber Plate: Maximizing Photon Capture
The absorber is the heart of the collector. In a standard setup, this is the pipe itself. In high-performance experimental designs, the pipe is attached to a large metal sheet—usually aluminum or copper—to increase the surface area that catches sunlight.
Heat Transfer Effectiveness
The critical challenge in an experimental absorber is the "fin efficiency." This refers to how effectively the heat captured by the flat metal sheet travels to the water-carrying tube.
- Bonding: Simply taping a pipe to a sheet of metal is inefficient. Experimentalists use specialized heat-transfer mastics or heavy-duty aluminum fins that "snap" onto the pipe.
- Selective Coatings: While professional collectors use "selective surfaces" (like black chrome) that absorb light but emit very little heat, DIYers typically rely on paint.
To ensure your absorber doesn't lose its effectiveness after one season, you must use the right coating. For a deep dive into the specific products that survive the high-heat environment of a glazed collector, see our guide on The Best UV-Resistant Flat Black Spray Paint for Solar Collectors.
Innovative Collector Designs: Trickle and ICS Systems
Experimental solar heating often moves away from the "tube-on-plate" design entirely to explore more radical methods of heat transfer.
The Trickle Collector (Thomason Style)
The trickle collector is a classic experimental design. Instead of pumping water through pipes, water is pumped to a header pipe at the top of a corrugated metal sheet (often roofing tin painted black). The water "trickles" down the valleys of the corrugation in a thin film, absorbing heat directly from the metal before being collected in a gutter at the bottom.
- Pro: Extremely high heat transfer because the water is in direct contact with the entire heated surface.
- Con: High humidity inside the collector box can lead to condensation on the glazing, which reflects sunlight.
Integral Collector Storage (ICS)
Often called "Breadbox" heaters, ICS systems combine the collector and the storage tank into one unit. These are usually large, black-painted tanks sitting inside an insulated, glazed box. While they have high thermal mass, they are experimentally challenging for pools due to their extreme weight and the difficulty of plumbing them into a high-flow pool system.
To understand how to integrate these heavier, more complex components into your plumbing, refer to The PoolHeatHacker Master Buying Guide: Essential Components for DIY Heating.
Heat Exchangers: Closed-Loop vs. Open-Loop
A major branch of experimental solar heating involves the use of heat exchangers. In a standard setup (open-loop), pool water is pumped directly through the solar collectors. In an experimental closed-loop system, a different fluid (like a water-glycol mix) circulates through the collectors and transfers its heat to the pool water via a heat exchanger.
Why Go Closed-Loop?
- Freeze Protection: You don't have to drain the system in winter.
- Corrosion Resistance: Pool chemicals (chlorine and low pH) can be brutal on copper collectors. A heat exchanger allows the collectors to run pure, treated water, extending their lifespan indefinitely.
- Pressure Management: You can run the collector loop at a lower pressure than the main pool pump.
Instrumentation: You Can’t Manage What You Don’t Measure
The defining characteristic of an experimentalist is the use of data. To truly know if your DIY design is "better," you need to calculate the BTU output.
The Formula: `BTU/hr = Flow Rate (GPM) x 500 x Temperature Rise (Delta T)`
To get these numbers, experimentalists use:
- Digital Thermocouples: Placed at the inlet and outlet of the collector.
- Flow Meters: To ensure the water isn't moving too fast (causing excessive backpressure) or too slow (causing the collector to overheat and lose efficiency).
When dealing with high-performance experimental collectors, the demand on your pump increases due to the added friction of heat exchangers or narrow-gauge riser pipes. Choosing the right hardware is essential; for technical specifications, check out our guide on the Best High-Flow Pool Pumps for DIY Solar Collectors: A Technical Guide.
Lessons from the Lab: Avoiding Common Experimental Failures
Experimental solar heating is a process of trial and error. The BuildItSolar archives and similar DIY repositories highlight several "failure modes" that every builder should avoid:
- Outgassing: Using cheap insulation or unrated plastics inside a glazed collector can cause them to "outgas" when they get hot. This creates a cloudy film on the inside of your glazing that is nearly impossible to clean.
- Stagnation Melting: A well-insulated, glazed collector can reach temperatures over 300°F if the pump stops running on a sunny day. If you used PVC or PEX-B inside the collector, it will melt or deform. Experimental collectors often require copper or EPDM headers to survive stagnation.
- UV Degradation: Even if a material is "outdoor rated," the concentrated UV and heat inside a solar box are much more intense. Always opt for high-grade polycarbonate or glass over standard acrylic or cheap plastics.
By embracing the experimental approach—testing materials, measuring performance, and iterating on designs—you move beyond simple DIY projects and into the realm of high-efficiency thermal engineering. Whether you are building a trickle collector or a high-pressure closed-loop system, the goal remains the same: capturing the most energy possible from every square foot of sunshine.