
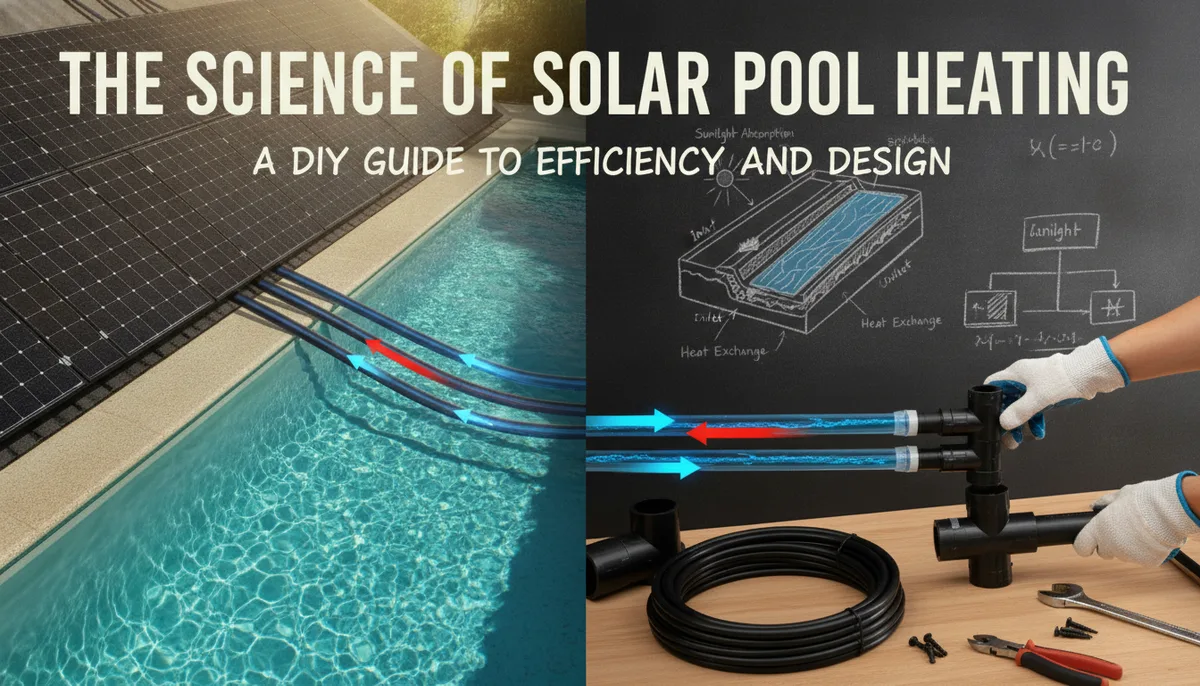
The Science of Solar Pool Heating: A DIY Guide to Efficiency and Design
Understanding the Physics of a Warm Pool
Heating a swimming pool is not merely about adding heat; it is about managing a complex thermal budget. To the uninitiated, the process seems simple: pump water through a black pipe in the sun and dump it back into the pool. However, to achieve a consistent 80°F (27°C) or higher, you must understand the "leaks" in your thermal bucket.
According to fundamental thermodynamics, a pool loses heat through three primary mechanisms: evaporation, radiation, and convection. Of these, evaporation is the primary culprit, accounting for approximately 70% of total heat loss. When water turns into vapor, it carries away a massive amount of energy—known as the latent heat of vaporization. This is why even the most powerful heater will struggle if the pool remains uncovered during a cool, breezy night.
The remaining 30% of loss is split between radiation to the night sky (20%) and convection caused by wind moving over the water surface (10%). By understanding these factors, a DIY builder can prioritize components that offer the highest return on investment. Before you buy a single foot of pipe, your first investment should always be a high-quality pool cover.
The Role of the Solar Collector: Glazed vs. Unglazed
When selecting or building a solar collector, you must choose between glazed and unglazed systems. In the world of solar thermal energy, "glazed" refers to collectors covered with a glass or plastic sheet to trap heat (the greenhouse effect), while "unglazed" collectors are exposed directly to the air.
For domestic hot water (showers), glazed collectors are essential because you need to "lift" the water temperature significantly above the ambient air temperature. However, for pool heating, you only need a "low-temperature lift"—typically just 5 to 10 degrees above the outdoor air.
Unglazed collectors, often made of EPDM rubber or high-density polyethylene (HDPE), are actually more efficient than glazed collectors for this specific application. Because they lack a glass cover, they don't suffer from reflective losses, and they can absorb ambient heat from the surrounding air in addition to direct sunlight. They are also significantly cheaper and easier to install on a DIY basis.
If you are looking to build your own, you might consider commercial-grade unglazed panels which offer optimized flow channels. For those interested in the full DIY experience, using 1/2-inch black PE (polyethylene) tubing or PEX can be effective, though it requires more surface area to match the performance of professional mats. To ensure your system is built to last, refer to The PoolHeatHacker Master Buying Guide: Essential Components for DIY Heating for a breakdown of material choices.
Sizing Your Solar Array for Maximum Gain
One of the most common mistakes DIYers make is undersizing their collector array. A pool contains thousands of gallons of water, representing a massive "thermal mass." To move the temperature of that mass by even a few degrees requires an immense amount of energy.
The rule of thumb for solar pool heating is that the collector surface area should be 50% to 100% of the surface area of the pool.
- 50% Coverage: Ideal for hot, sunny climates (like Arizona or Florida) where the goal is to extend the season by a few weeks.
- 80-100% Coverage: Necessary for northern climates or pools that receive significant shade. This allows the system to recover heat quickly after a string of cloudy days.
If your pool is 15x30 feet (450 sq. ft.), you should aim for at least 225 to 450 square feet of solar collectors. While this may sound like a lot of roof or ground space, remember that solar energy is diffuse; you need a large "net" to catch enough "fish" (photons) to heat your water.
Orientation, Tilt, and Solar Windows
The efficiency of your solar heater is heavily dependent on where and how the collectors are mounted. In the northern hemisphere, true south is the ideal orientation.
However, don't despair if your roof faces east or west. An east-facing array will provide a boost in the morning, while a west-facing array will capture the hot afternoon sun. If you are forced to use an east or west orientation, simply increase the collector area by 25% to compensate for the reduced peak exposure.
The Importance of Tilt
The angle (tilt) of your collectors should ideally match your latitude. However, since most pool owners only use their pools during the summer, a flatter tilt is often more effective. During the summer, the sun is higher in the sky. A tilt of latitude minus 10 or 15 degrees can maximize summer gain. For year-round use, setting the tilt equal to your latitude is the standard recommendation.
Plumbing Logic: Flow Rates and Backflow Prevention
Plumbing is the circulatory system of your solar heater. If the water moves too slowly, it will come out of the panels very hot, but you will have very little total heat transfer. If it moves too quickly, you create excessive "head pressure," which can strain your pool pump.
Achieving the "Sweet Spot" Flow
The goal is a high volume of water with a low temperature rise (usually a 2-5°F difference between the inlet and outlet). This indicates that the heat is being efficiently "swept" away from the collectors and into the pool.
Managing Head Pressure
When you pump water to a roof, the pump has to fight gravity. Once the "siphon" is established (the water falling back down the return line), the workload on the pump decreases. However, the initial "prime" requires a pump with sufficient "head" capacity. For more on selecting the right hardware, see our guide on Best High-Flow Pool Pumps for DIY Solar Collectors: A Technical Guide.
The Critical Role of Check Valves
In any DIY solar setup, you must prevent the water in the solar collectors from draining back into the pool filter or pump when the system shuts off. Without a check valve, the "back-rush" of water can spin your pump impeller backward or blow debris back into the filter. Integrating a check valve is a non-negotiable safety step for the longevity of your equipment. For a detailed installation walkthrough, read about Integrating a Check Valve: Preventing Backflow in DIY Pool Heating Systems.
DIY Collector Designs: From PEX to Copper
If you aren't buying pre-made panels, you have several options for DIY construction. The most popular DIY methods include:
- The Spiral PE Coil: Coiling hundreds of feet of black polyethylene pipe into a "snail" shape. These are easy to build but can be difficult to mount on a roof and have high flow resistance.
- The Parallel Pipe Manifold: Using PVC headers to feed multiple parallel runs of small-diameter tubing (like 1/2" drip line or PEX). This design mimics commercial panels and offers much lower flow resistance.
- Copper Pipe on Aluminum Fin: The "gold standard" for thermal conductivity, but often cost-prohibitive due to the price of copper. This is usually reserved for glazed collectors where high efficiency is needed in small spaces.
Regardless of the design, the key is maximizing the contact between the sun-warmed surface and the water. Using thermal mastic or ensuring the pipes are painted a "flat" (non-reflective) black is essential.
Maximizing Your Investment: The "Cover First" Rule
We return to where we began: the pool cover. It is the most important component of any heating system. A solar heater without a cover is like a furnace running in a house with all the windows open.
A transparent "bubble" cover (often called a solar blanket) does two things:
- Admits Solar Energy: It allows sunlight to pass through and heat the water directly.
- Prevents Evaporation: It creates a physical barrier that stops the water vapor from escaping, trapping the heat inside.
By using a cover at night and when the pool is not in use during the day, you can double the effectiveness of your solar collectors. This synergy is what allows DIYers to maintain "resort-style" water temperatures without the massive utility bills associated with gas or electric heaters.
Final Thoughts for the DIY Builder
Building a solar pool heater is one of the most rewarding DIY projects a homeowner can undertake. It combines plumbing, physics, and construction into a system that provides tangible comfort and cost savings. By focusing on the fundamentals—maximizing collector area, optimizing orientation, and religiously using a pool cover—you can enjoy a warm pool for the cost of a few PVC fittings and some sunshine.