
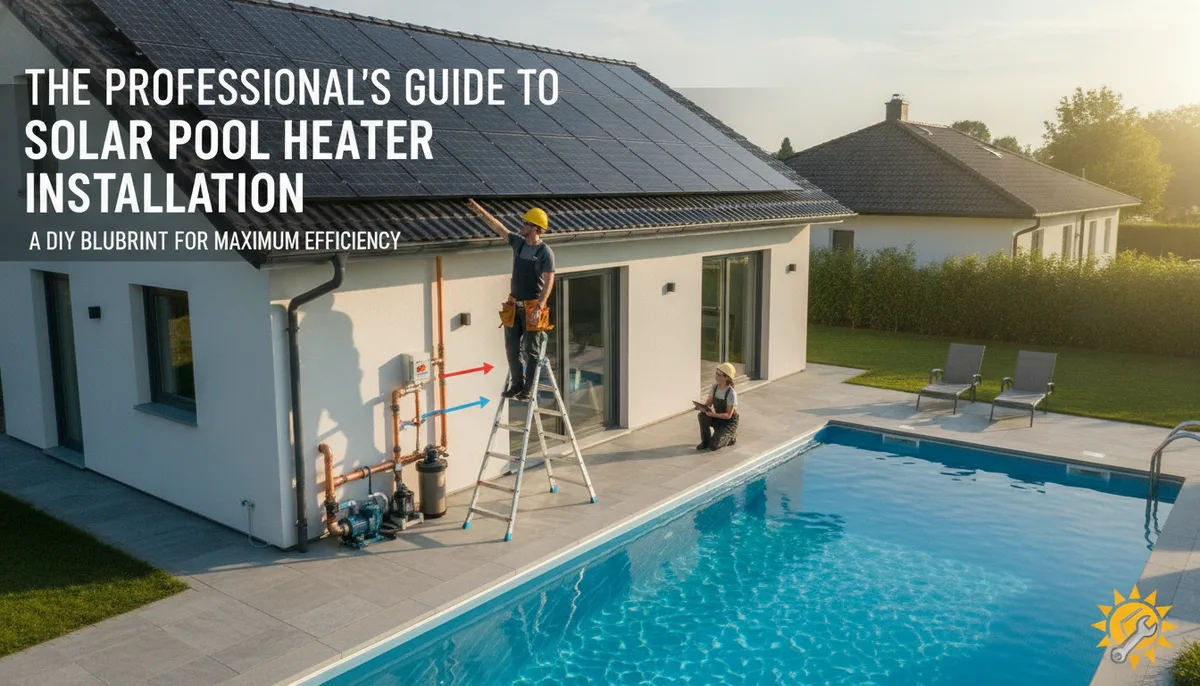
The Professional's Guide to Solar Pool Heater Installation: A DIY Blueprint for Maximum Efficiency
Installing a solar pool heater is one of the most rewarding DIY projects a homeowner can undertake. It transforms the physics of solar radiation into tangible comfort, extending your swimming season without the monthly sting of a gas or electric bill. However, the difference between a system that lasts twenty years and one that fails in three lies in the technical execution of the installation.
According to data from the Florida Solar Energy Center (FSEC), a properly installed system can provide nearly all the heat required for a pool in warmer climates and significantly offset costs in cooler ones. To achieve this, you must look beyond simply "laying panels on a roof." You must understand the hydraulics, structural requirements, and thermal dynamics of the system.
1. Siting and Orientation: Maximizing Solar Harvest
The efficiency of your solar heater is dictated by its exposure to the sun. While it seems intuitive, many DIYers overlook the subtle geometry of the sun’s path throughout the year.
The South-Facing Standard
In the northern hemisphere, solar collectors should ideally face true south. This orientation captures the maximum amount of solar radiation as the sun arcs across the sky. If a south-facing roof is unavailable, a west-facing orientation is the next best option, as it captures the intense afternoon heat when ambient temperatures are already high.
Addressing Shading and Tilt
Even a small amount of shading—from a chimney, a nearby tree, or a second-story gable—can disproportionately reduce the performance of a solar array. When siting your panels, observe the roof at different times of the day. Furthermore, the tilt of the panels should ideally match your latitude to maximize year-round efficiency, though for summer-heavy pool use, a flatter pitch is often acceptable.
For a deeper dive into the physics of how these collectors turn sunlight into heat, see our guide on The Science of Solar Pool Heating: A DIY Guide to Efficiency and Design.
solar pool heater panel kit
2. Plumbing Architecture: The Flow of Success
The integration of a solar heater into your existing pool equipment pad requires a specific sequence to protect both the heater and the pool. The golden rule of pool plumbing is: Pump -> Filter -> Solar -> Chlorination.
Why the Sequence Matters
- After the Filter: You must never send unfiltered water into solar panels. The small channels inside the collectors can easily become clogged with debris, which is nearly impossible to flush out.
- Before the Chlorinator: If you have an erosion feeder or a salt-chlorine generator, it must be the very last component before the water returns to the pool. Concentrated chlorine sitting in solar panels during "off" cycles will rapidly degrade the polymer materials, leading to pinhole leaks.
The Bypass Loop
A professional installation always includes a manual or automatic bypass valve. This allows you to divert water away from the panels during the night, during heavy rain, or when the pool is already at the desired temperature. Without a bypass, you risk cooling your pool at night as the panels act as giant radiators, bleeding heat into the cool evening air.
3-way diverter valve pool
3. Hydraulics and Head Pressure
One of the most common points of failure in DIY solar installations is underestimating the "head" or the vertical lift required to move water to the roof.
Calculating Lift
If your pool pump is located at ground level and your panels are on a 15-foot roof, your pump must overcome that 15 feet of static head plus the friction loss of the piping. Most standard pool pumps can handle a single-story lift, but a two-story installation may require a high-performance pump or a dedicated solar booster pump.
Flow Rates
Solar collectors have an "ideal" flow rate—usually between 3 to 5 gallons per minute (GPM) per panel. If the flow is too slow, the water gets very hot, but you aren't moving enough volume to heat the pool. If it's too fast, you create excessive backpressure on your filter system. Balancing this flow is typically done using the bypass valve mentioned in the previous section.
4. Structural Mounting and Thermal Expansion
Solar panels are large, wind-catching surfaces. On a roof, they act like sails. Secure mounting is not just about keeping the panels in place; it’s about protecting the integrity of your roof.
Securing to Rafters
Never rely on the roof decking (sheathing) alone to hold your mounting brackets. All primary mounting hardware should be lag-bolted directly into the rafters. Use a high-quality marine-grade or roofing sealant on every penetration to ensure a watertight seal.
Accounting for Expansion
Polymer solar collectors expand and contract significantly as they heat up and cool down. A 20-foot panel can change in length by an inch or more in a single day. If you strap the panels down too tightly without allowing for this movement, the stress will eventually crack the headers or pull the mounts out of the roof. Professional kits use mounting straps that allow the panels to "float" slightly while still remaining secure against wind lift.
5. Essential Safety Components: VRVs and Check Valves
A solar system is a closed loop that interacts with an open pool. This creates two specific risks: vacuum collapse and backflow.
The Vacuum Relief Valve (VRV)
The VRV is a small, inexpensive component that is absolutely critical. It is installed at the highest point of the system. When the pump turns off, gravity pulls the water out of the panels and back into the pool. Without a VRV to let air in, a vacuum forms inside the panels. Over time, this atmospheric pressure can literally crush the panels flat.
Preventing Backflow
When the pump shuts off, you don't want the column of water on the roof rushing backward through your filter and pump. This can spin the pump impeller backward and dump filtered debris back into the pool. To prevent this, a check valve must be installed between the filter and the solar intake.
For a technical breakdown on choosing the right hardware for this task, refer to our article on Integrating a Check Valve: Preventing Backflow in DIY Pool Heating Systems.
solar pool heater vacuum relief valve
6. Automation: Setting the Brains of the System
While a manual ball valve is the cheapest way to control your system, it requires you to be home and attentive to the weather. If a cloud cover moves in, your panels can actually start cooling the pool.
Differential Temperature Controllers
An automated system uses two sensors: one for the pool water temperature and one for the solar collectors. When the solar sensor is significantly hotter than the pool sensor, an actuator turns the valve to send water to the roof. When the temperature differential narrows, it bypasses the panels.
For the tech-savvy DIYer, you can even build your own controller. Check out our technical guide on How to Automate Your DIY Heater with an Arduino: A Step-by-Step Technical Guide.
7. Final Commissioning and Maintenance
Once the plumbing is glued and the panels are strapped, the "Startup" phase begins.
- Pressure Test: Run the pump at full speed and check every header connection and PVC joint for leaks.
- Air Purge: When the solar system first kicks on, you will see a massive amount of bubbles in the pool. This is normal; it is the air being purged from the panels. This should stop after a few minutes.
- Winterization: If you live in a climate where it freezes, your system must be "drainable." Gravity should naturally pull water out of the panels through the VRV when the pump is off. Ensure there are no "low spots" in your plumbing on the roof where water can trap and freeze, which would split the pipes or the collectors.
By following these professional standards, your DIY solar pool heater will do more than just take the chill off the water—it will provide a reliable, high-performance heating solution that adds value to your home and years to your swimming season.