
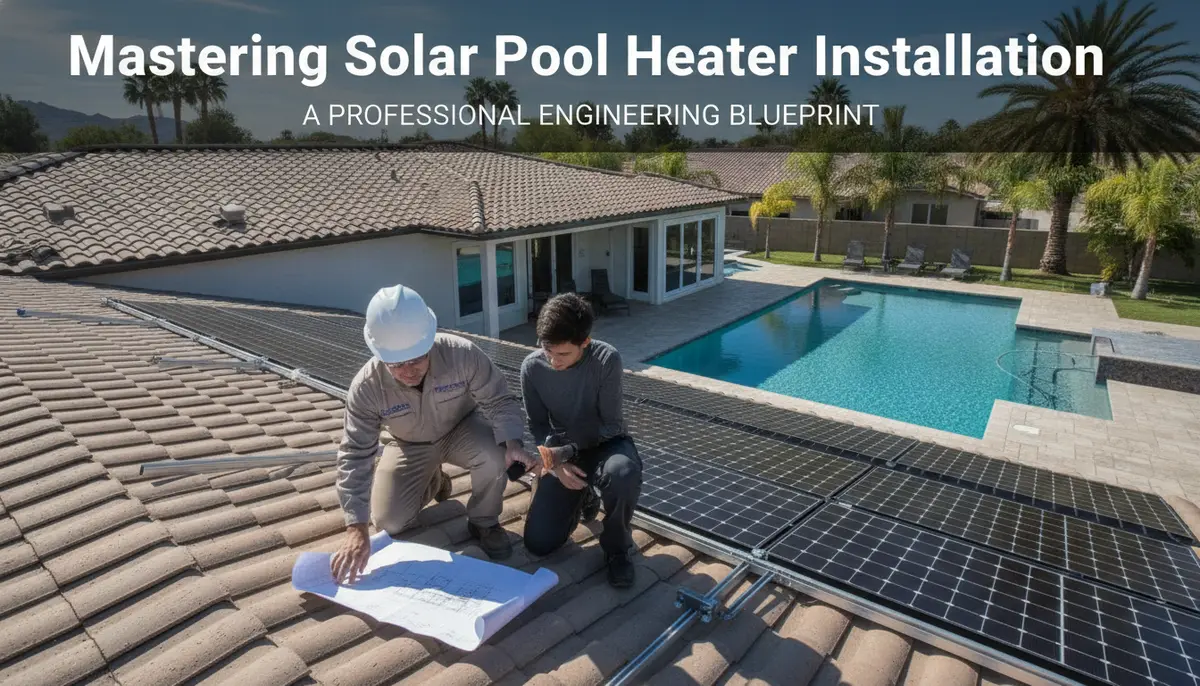
Mastering Solar Pool Heater Installation: A Professional Engineering Blueprint
Installing a solar pool heating system is one of the most effective ways to extend your swimming season without skyrocketing your utility bills. However, a "set it and forget it" approach rarely works with solar thermal technology. To achieve professional-grade results, you must understand the engineering principles behind water flow, thermal transfer, and structural integrity.
This guide draws on industry-standard installation practices to provide a technical blueprint for your DIY project. By following these steps, you ensure that your system doesn't just work—it thrives under the sun for decades.
The Foundation of Solar Efficiency: Layout and Site Selection
Before a single bracket is drilled into your roof, you must determine the optimal location for your collectors. The goal is to maximize "solar noon" exposure, which typically occurs between 10 AM and 4 PM.
Orientation and Tilt
In the northern hemisphere, a south-facing roof is the gold standard. If a southern exposure isn't available, a west-facing roof is a viable alternative as it captures the intense afternoon heat. East-facing installations are less efficient but can work if you increase the total square footage of the panels to compensate for the lower energy yield.
Shading Analysis
Even a small amount of shade can significantly degrade the performance of a solar collector. Look for "soft shade" from distant trees or "hard shade" from chimneys and gables. If your roof is obstructed, consider a ground-mounted rack or a pergola installation. For a deeper dive into the physics of how these panels capture energy, refer to The Science of Solar Pool Heating: A DIY Guide to Efficiency and Design.
Hydraulic Integration: Connecting to Your Existing Pool Pump
The heart of your solar system is the "Solar Bypass." This is a series of valves installed on the return line of your pool equipment pad, after the filter but before any chlorinators or salt cells.
The bypass allows you to divert water to the roof when the sun is shining and bypass the panels at night or on cloudy days. A manual 3-way valve is the minimum requirement, but for true efficiency, an automated actuator is recommended.
The Importance of Pressure Balance
When plumbing the supply and return lines to the roof, aim for hydraulic balance. This means the water should travel roughly the same distance through each panel in the array. If you have multiple banks of panels, use a "reverse-return" piping layout to ensure that the panel closest to the pump doesn't hog all the flow while the furthest panel remains cold.
The Mounting Phase: Securing Panels for Wind and Longevity
Solar panels act like giant sails. If they aren't secured correctly, a high-wind event can tear them off the roof, causing catastrophic damage to both the heater and your home.
Mounting Brackets and Strapping
Standard professional installations utilize a combination of mounting brackets and polypropylene strapping. Brackets should be installed at the top of the panels to hang the manifolds, with additional brackets every 4 feet along the length of the array.
- Locate Rafters: Never mount panels to just the roof sheathing. Use a stud finder or "tap" method to locate the rafters.
- Sealant is Non-Negotiable: Every roof penetration is a potential leak. Use a high-quality, UV-resistant roofing sealant in every pilot hole and under every bracket base.
- Strapping Tension: Straps should be tight enough to prevent the panels from lifting but should allow for slight thermal expansion and contraction of the plastic.
Plumbing Architecture: Manifolds, Valves, and Vacuum Relief
The plumbing on the roof is where most DIY mistakes happen. To avoid airlocks and panel collapse, you must adhere to specific plumbing logic.
The Vacuum Relief Valve (VRV)
The VRV is a critical component that is often overlooked. It must be installed at the highest point of the solar array. When the pool pump shuts off, the water in the panels wants to rush back down to the pool due to gravity. Without a VRV, this creates a vacuum that can "implode" the thin channels of the solar collectors. The VRV allows air into the system, breaking the vacuum and allowing the panels to drain safely.
Preventing Backflow
When the system is off, you do not want water from the roof draining back through your filter in reverse. This can dislodge debris and damage your pool's filtration system. A high-quality check valve must be installed on the solar supply line. For a technical breakdown on where to place these components, see Integrating a Check Valve: Preventing Backflow in DIY Pool Heating Systems.
Automation and Control: Optimizing Thermal Gain
Manually turning a valve every time a cloud passes is neither practical nor efficient. Modern solar controllers use two sensors: one to monitor the water temperature at the equipment pad and another to monitor the "solar gain" on the roof.
Sensor Placement
- Water Sensor: Drilled into the pipe before the solar bypass.
- Solar Sensor: Mounted on the roof, near the panels, but not touching them. It should represent the temperature the panels are reaching.
When the solar sensor is significantly warmer than the water sensor (usually a 4-6 degree differential), the controller triggers the actuator to send water to the roof.
For those who want to take their system to the next level, you can even build custom logic for your setup. Check out The PoolHeatHacker Master Buying Guide: Essential Components for DIY Heating to ensure you have the right hardware for an automated build.
Testing and Commissioning Your System
Once the plumbing is cured and the panels are strapped, it is time for the "Wet Test."
- Initial Flush: Open the bypass valve slowly. You will hear a significant amount of air being pushed out of the return jets in the pool. This is normal.
- Pressure Check: Once the air stops bubbling, check every manifold connection and roof penetration for leaks. PVC joints should be bone dry.
- The "Touch" Test: After 15 minutes of operation on a sunny day, feel the water coming out of the return jets. It should be noticeably warmer than the pool water. Conversely, the solar panels themselves should feel cool to the touch. If the panels are hot, it means the water isn't moving through them fast enough to "strip" the heat away.
- Drain-Down Test: Turn off the pump. Listen for the vacuum relief valve to "hiss" as it lets air in. Watch the return jets; you should see air bubbles as the water drains out of the panels. This confirms your system is protected against vacuum and freezing.
By treating your solar installation as an engineering project rather than a weekend craft, you ensure a high-performance system that provides free heat for years to come. Professional mounting, balanced hydraulics, and automated controls are the pillars of a successful DIY solar heater.