
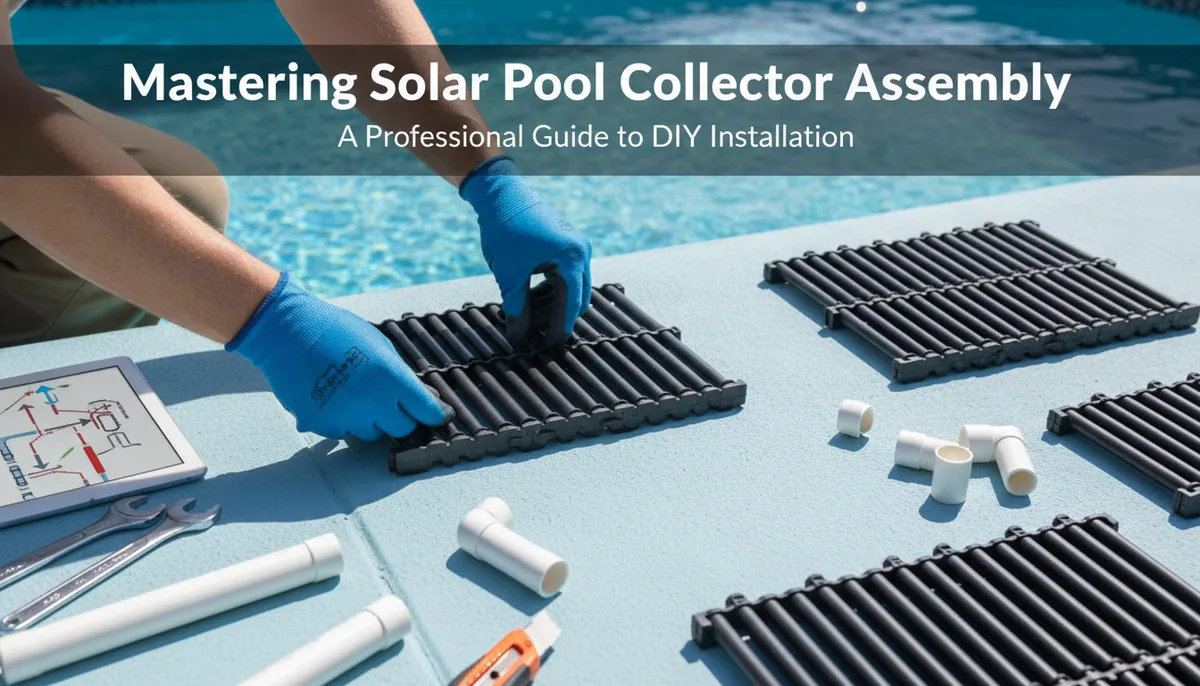
Mastering Solar Pool Collector Assembly: A Professional Guide to DIY Installation
---CONTENT:
Assembling a solar pool heating system is one of the most rewarding DIY projects a homeowner can undertake. Not only does it significantly slash energy costs, but it also extends your swimming season by months. However, the difference between a high-performing system and a leaky, inefficient one lies in the precision of the assembly.
Based on professional standards used by industry leaders like Suntrek, successful solar collector assembly requires more than just laying mats on a roof. It requires an understanding of fluid dynamics, thermal expansion, and robust mechanical connections. In this guide, we will break down the technical process of assembling your collector bank to ensure professional-grade results.
Understanding the Anatomy of a Solar Collector Bank
Before you begin the physical labor, you must understand the components that make up the "solar array." A standard professional-grade system consists of modular collectors, typically made of high-grade UV-stabilized polymers.
The Manifold System
The manifolds are the "headers" at the top and bottom of each collector. The bottom manifold distributes cold pool water across the absorber tubes, while the top manifold collects the heated water to send it back to the pool. These manifolds must be aligned perfectly to ensure a seal that can withstand the constant pressure of a pool pump.
The Absorber Plates
The "mats" or plates between the manifolds are where the magic happens. These consist of numerous small tubes that maximize the surface area exposed to the sun. When assembling these, it is vital to avoid kinking or stressing the connection points where the tubes meet the manifold.
For a deeper dive into how these components interact with solar radiation, see The Science of Solar Pool Heating: A DIY Guide to Efficiency and Design.
Step-by-Step Collector Assembly
Assembly should ideally take place on a flat, clean surface. If you are installing on a roof, perform as much sub-assembly as possible on the ground to minimize time spent on a slope.
1. Layout and Alignment
Lay out your collectors side-by-side. Use a chalk line to ensure the top manifolds are perfectly straight. If the manifolds are staggered, you will face significant challenges when trying to connect the supply and return PVC piping later.
2. Connecting the Manifolds
Most professional systems use specialized rubber coupling hoses and stainless steel hose clamps to join manifolds.
- Pro Tip: Use a small amount of soapy water (not oil or grease) to lubricate the inside of the coupling hoses. This allows them to slide over the manifold ends easily without tearing the rubber.
- Clamping: Position the hose clamps approximately 1/4 inch from the end of the hose. Tighten them firmly using a nut driver, but avoid over-tightening to the point where the manifold pipe deforms.
stainless steel hose clamps for solar pool collectors
3. Squaring the Array
Once the collectors are joined, measure the diagonals of the entire array. If the measurements are equal, your array is square. This is critical for aesthetic reasons and for ensuring that the mounting straps will apply even pressure across the system.
Advanced Plumbing: The Reverse-Return Principle
One of the most common mistakes in DIY solar assembly is "direct-return" plumbing. In a direct-return setup, the water enters and leaves the array from the same side. This causes the water to take the path of least resistance, flowing heavily through the first few collectors and barely moving through the furthest ones.
To achieve maximum efficiency, you must use a Reverse-Return design. In this configuration, the cold water enters at one corner of the bottom manifold, and the hot water exits from the diagonally opposite corner of the top manifold. This forces the water to travel the exact same distance regardless of which collector it passes through, ensuring perfectly even heat distribution.
For more details on the hardware needed for these connections, refer to The PoolHeatHacker Master Buying Guide: Essential Components for DIY Heating.
Critical Components: Vacuum Relief and End Caps
A solar collector bank is a closed loop, but it cannot be air-tight at all times. This is where the Vacuum Relief Valve (VRV) and end caps come into play.
The Vacuum Relief Valve (VRV)
The VRV is arguably the most important safety component in your assembly. It must be installed at the highest point of the system. When the pump turns off, the water in the collectors naturally wants to drain back into the pool. Without a VRV, this creates a vacuum that can "pancake" your pipes or suck debris into the system. The VRV opens to let air in, allowing the water to drain freely.
Sealing the "Dead Ends"
Every manifold bank will have two ends that are not connected to the pool plumbing. These must be sealed with high-quality end caps. Ensure these caps are secured with the same high-grade stainless steel clamps used for the couplings, as they will face the full pressure of the pump.
To prevent water from flowing backward into the pump when the system is off, you should also consider Integrating a Check Valve: Preventing Backflow in DIY Pool Heating Systems.
Mounting and Securing for Longevity
Solar collectors are subject to two major forces: wind and thermal expansion.
Managing Thermal Expansion
Polypropylene and EPDM collectors expand when they get hot and contract when they cool. If you anchor the collectors too tightly with rigid fasteners, they will eventually buckle or crack. Professional installation involves using mounting straps that hold the collectors against the roof while allowing for slight lateral movement.
Wind Load Protection
In high-wind areas, the collectors can act like a sail. Ensure that your mounting brackets are screwed into the roof rafters, not just the decking. Use a high-quality polyurethane sealant on all roof penetrations to prevent leaks.
solar pool heater mounting kit with UV-resistant straps
Final Testing and Commissioning
Once the assembly is complete and the PVC plumbing is glued and cured (wait at least 24 hours for the best results), it’s time for a pressure test.
- Initial Fill: Turn the pump on at a low RPM if you have a variable speed pump.
- Air Purge: You will hear a loud hissing and see bubbles in the pool. This is the air being purged from the collectors through the return line.
- Leak Check: Once the flow is steady, inspect every manifold connection and hose clamp. If you see a drip, do not immediately tighten the clamp further. Often, it’s better to loosen the clamp, reposition the hose slightly, and then re-tighten.
- Temperature Differential: After 15 minutes of operation, feel the return water at the pool inlet. It should be noticeably warmer than the pool water. If it isn't, check your flow rate; if the water moves too fast, it won't have enough "dwell time" in the collectors to pick up significant heat.
By following these professional assembly standards, you transform a collection of parts into a high-performance energy machine. Precision in the assembly phase ensures that your DIY solar heater will remain leak-free and efficient for 15 to 20 years, providing a massive return on your initial investment.