
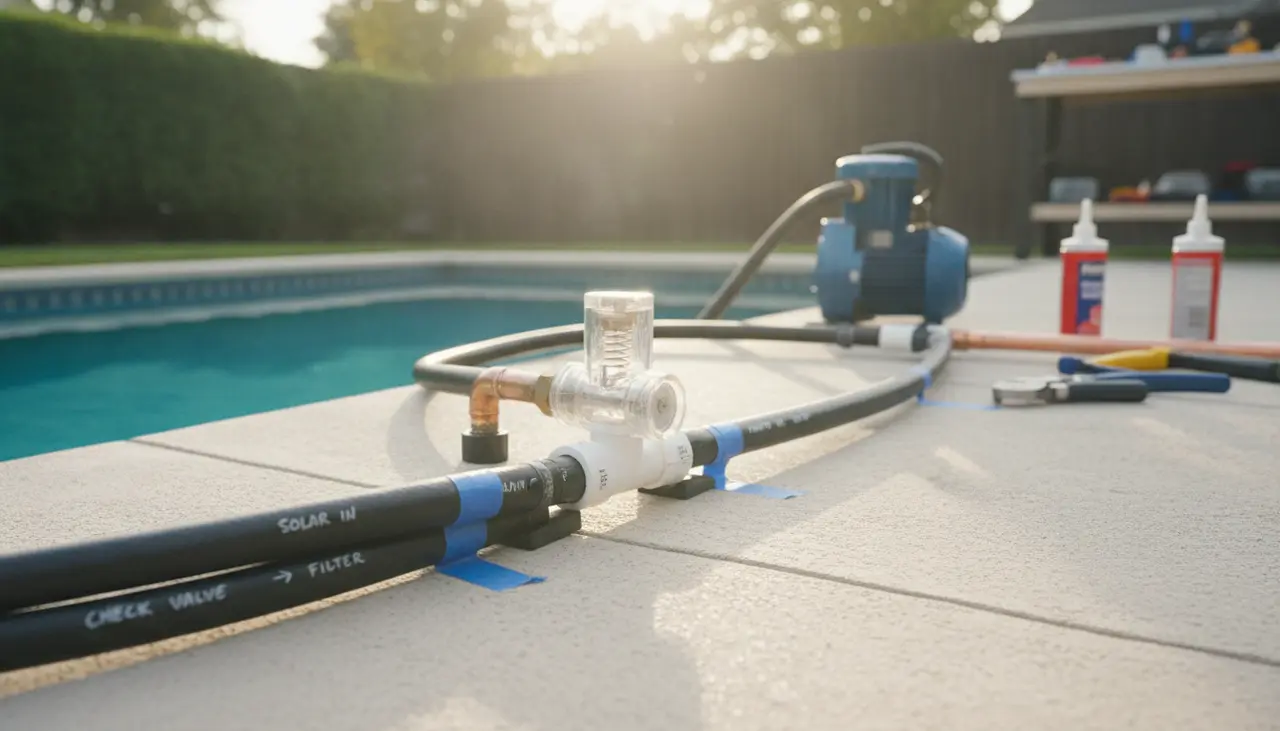
Integrating a Check Valve: Preventing Backflow in DIY Pool Heating Systems
Affiliate Disclosure: This post contains affiliate links for Jandy and Hayward components. If you purchase through these links, PoolHeatHacker may earn a small commission at no additional cost to you.
In a DIY pool heating system, a check valve is a mechanical device that allows water to flow in only one direction. Its primary function is to prevent water from rushing backward through the plumbing when the pool pump is turned off.
For DIYers, pool check valve installation is critical when the heating element—such as a roof-mounted solar collector or a wood-fired heat exchanger—is located higher than the pool pump or filter. Without a check valve, gravity forces the water back down the pipes, potentially spinning the pump impeller backward, emptying the filter canister, or creating massive air locks that prevent the system from priming during the next cycle.
Who This Guide Is For
This guide is designed for backyard pool owners who are assembling their own heating loops. Whether you are plumbing a 500-foot black poly pipe solar array or a stainless steel heat exchanger for a wood-fired boiler, understanding the placement and mechanics of check valves is essential for system longevity and safety.
Comparison: Jandy vs. Hayward Check Valves
When selecting a valve for your DIY build, you will likely choose between the two industry standards. Both are high-quality, but they offer different maintenance profiles.
| Feature | Jandy Pro Series (Check Valve) | Hayward (Swing Check Valve) |
|---|---|---|
| Mechanism | Spring-loaded flapper | Gravity or light spring swing |
| Body Material | CPVC (High-heat resistant) | PVC or CPVC options |
| Serviceability | Removable 8-bolt lid | Sealed or union-style |
| Clarity | Clear lid for visual inspection | Often solid (depends on model) |
| Best Use Case | High-pressure solar return lines | General backflow prevention |
Why This Works: The Physics of Backflow
When you pump water to a roof (solar) or through a dense coil (wood-fired), you are fighting gravity and friction. When the pump stops, the weight of the water in those elevated lines wants to return to the lowest point (the pool).
If the water flows back through the filter, it can dislodge the filter media or damage the internal grids. A check valve acts as a "one-way gate," slamming shut the moment the forward pressure from the pump drops below the back-pressure of the water column.
Step-by-Step Pool Check Valve Installation
Tools and Parts Required:
- Check Valve (Jandy or Hayward 1.5" or 2" depending on your pipe size)
- PVC Primer and Medium Body PVC Cement
- Hacksaw or PVC Pipe Cutter
- Sandpaper (120 grit)
- Essential PVC Fittings Every DIY Heater Needs: A Pool Plumbing Fittings Guide (Refer to this for sizing adapters)
1. Determine Placement
The check valve should be installed after the filter but before the heater if you are protecting the filter from heat-sink backflow. However, in solar builds, it is most commonly installed on the return line or the feed line to prevent the entire collector from draining back into the pool.
2. Verify Flow Direction
Every check valve has an arrow molded into the plastic body. This arrow must point in the direction of the water flow (toward the pool). Installing it backward will completely block your water flow and potentially blow out your plumbing joints.
3. Prepare the Pipe
Cut the PVC pipe squarely. Use sandpaper to remove burrs from the inside and outside of the cut. This ensures a smooth seat and prevents debris from getting caught in the valve flapper.
4. Dry Fit and Mark
Slide the valve onto the pipes without glue to ensure the spacing is correct. Mark the orientation with a Sharpie across the pipe and the valve socket to ensure the lid remains accessible for future maintenance.
5. Solvent Weld
Apply primer to the pipe and the inside of the valve socket. Apply PVC cement. Push the valve onto the pipe with a quarter-turn to spread the glue, aligning your Sharpie marks. Hold for 30 seconds.
Use-Case Recommendations
Best for High-Heat DIY Systems (Wood-Fired)
If you are using a wood-fired exchanger, the water temperatures can occasionally spike. We recommend the Jandy Pro Series CPVC Valve. CPVC is rated for higher temperatures than standard white PVC, preventing the valve body from warping under extreme heat-soak conditions.
Best for Simple Above-Ground Solar
For basic black poly pipe collectors on the ground or a low rack, a Hayward Swing Check Valve is often sufficient. These valves have lower "crack pressure" (the amount of pressure needed to open the valve), which is ideal for smaller, lower-horsepower pumps.
Common Beginner Mistakes to Prevent
- Installing Vertically with a Gravity Flapper: Some swing check valves rely on gravity to close. If installed vertically with the flow going down, the flapper may stay open. Always use a spring-loaded valve for vertical installations.
- Gluing the Lid Shut: When applying PVC cement, be careful not to let excess glue run into the valve body. If the glue hits the flapper or the seal, the valve will be rendered useless.
- Ignoring the Check Valve in Solar Setups: Without a check valve, air will enter the solar collectors every time the pump shuts off. This leads to "burping" and massive air bubbles in the pool every morning, which can stress the plumbing.
FAQ: Pool Check Valve Installation
Q: Can I install a check valve vertically? A: Yes, but only if it is a spring-loaded model like the Jandy Pro Series. A standard gravity swing check may not seal properly in a vertical orientation if the water column isn't heavy enough to force it shut.
Q: Where is the best place to put the valve in a solar heater setup? A: It is best placed on the "feed" line going up to the solar panels to prevent the water from draining back through the pump. A second valve is often placed on the "return" line if the panels are significantly higher than the pool return inlets.
Q: How often should I maintain the valve? A: Check the internal flapper and the rubber seal once per season. Debris like small pebbles or calcified minerals can prevent the flapper from sealing 100%.
For more information on the specific connectors needed to transition from your main pool lines to your DIY heater, see our guide on Essential PVC Fittings Every DIY Heater Needs: A Pool Plumbing Fittings Guide.