
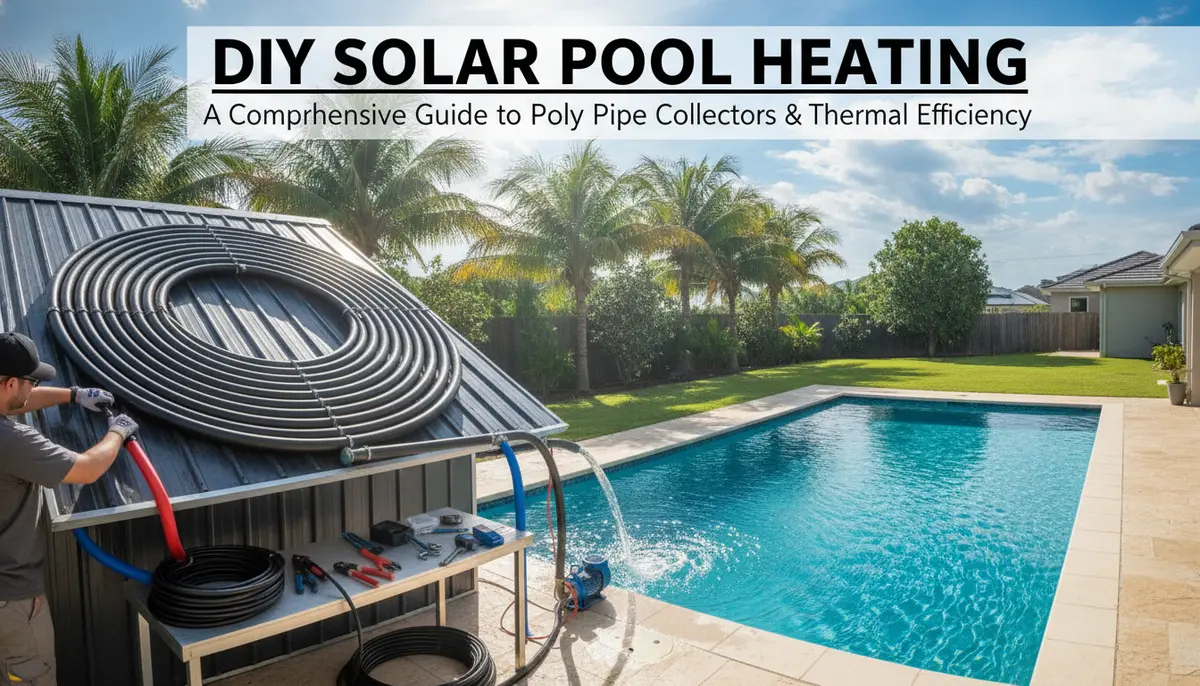
DIY Solar Pool Heating: A Comprehensive Guide to Poly Pipe Collectors and Thermal Efficiency
The Fundamentals of DIY Solar Pool Heating
Heating a swimming pool is often the single largest energy expense for homeowners, second only to air conditioning. However, the sun provides a massive amount of "free" thermal energy that can be harvested with relatively simple materials. The most popular and cost-effective method for the DIY enthusiast is the black poly pipe solar collector.
At its core, a DIY solar heater works on the principle of thermal absorption. By circulating pool water through a network of black pipes exposed to direct sunlight, the water absorbs the heat trapped by the material. While the concept is simple, the difference between a system that barely works and one that adds 10-15 degrees to your pool lies in the engineering details.
Understanding The Science of Solar Pool Heating: A DIY Guide to Efficiency and Design is the first step in moving from a basic hose-on-the-ground setup to a professional-grade thermal array.
Thermal Physics: Volume vs. Temperature Rise
One of the biggest misconceptions in DIY solar heating is the "hot to the touch" fallacy. Many builders believe that if the water coming out of the pipe is scalding hot, the heater is working perfectly. In reality, thermal efficiency is measured by the total number of BTUs (British Thermal Units) transferred to the pool, not the exit temperature of the water.
The Delta-T Equation
Heat transfer is most efficient when there is a large temperature difference between the collector and the fluid inside it. If the water moves too slowly, it heats up quickly and reaches a plateau where it can no longer absorb energy efficiently from the pipe. If the water moves faster, the "Delta-T" (the difference between the pipe temperature and the water temperature) remains high, allowing for maximum energy absorption.
To achieve this, you need a balance. You want a high volume of water moving through the system, even if it only feels 2 or 3 degrees warmer than the pool water at the return jet. Over several hours, this high-volume, low-temperature-rise approach will heat the pool much faster than a slow-drip, high-temperature system.
Essential Components for the Poly Pipe Collector
To build a robust system, you cannot simply coil a garden hose on your roof. Garden hoses are not designed for constant UV exposure or high pressure, and they will degrade within a season.
1. Black Polyethylene (PE) Tubing
The heart of the system is black irrigation tubing. PE is preferred because it contains carbon black, which acts as both a UV stabilizer and a high-efficiency thermal absorber. 1/2 inch black polyethylene irrigation tubing 500 ft roll
2. The Manifold System
Rather than using one incredibly long run of pipe (which creates massive backpressure), professional DIY designs use a "parallel" manifold. This involves a large header pipe (usually 1.5" or 2" PVC) that splits the flow into multiple smaller runs of poly pipe, which then recombine at a return header. This reduces the workload on your pool pump and increases the surface area exposed to the sun.
3. The Pump
While many systems tap into the existing pool filtration pump, some DIYers prefer a dedicated submersible pump or a small secondary centrifugal pump. If you are mounting your collectors on a roof, ensure the pump has sufficient "head" (lifting power) to overcome gravity and the friction of the small-diameter tubing.
Designing the Collector Layout: Coils vs. Grids
There are two primary ways to lay out your poly pipe: the spiral coil and the longitudinal grid.
The Spiral Coil
Spiral coils are popular because they are easy to build on the ground and can be modular. You simply wind the poly pipe into a flat "pancake" and secure it with plastic ties or specialized framing. These are excellent for small spaces or for builders who want to add more units over time.
The Longitudinal Grid
In a grid system, the pipes run straight up and down (or side to side) between two manifolds. This is generally more efficient for roof installations because it allows for better drainage. Drainage is critical for "winterizing" the system in colder climates; if water stays in the pipes during a freeze, the poly pipe can split.
Regardless of the layout, you should aim for a collector surface area that is at least 50% of your pool's surface area. If you live in a cooler climate or have a shaded pool, you may need a 1:1 ratio.
Plumbing Integration and Flow Control
Integrating your DIY heater into your existing pool plumbing requires a strategic approach to prevent damage to your pump and to ensure the water is filtered before it enters the small solar tubes.
The Bypass Loop
You should never run 100% of your pool's flow through the solar heater. The narrow diameter of the poly pipe creates too much resistance. Instead, install a bypass loop using a three-way valve. This allows you to divert a portion of the filtered water through the solar array while the rest goes straight back to the pool. 3-way Jandy NeverLeak diverter valve
Preventing Backflow
When the pump turns off, gravity will cause the water in a roof-mounted system to rush back toward the pump. This can cause "hammering" or even damage your filter housing. Integrating a Check Valve: Preventing Backflow in DIY Pool Heating Systems is a critical step in protecting your equipment. A check valve ensures that water only flows in one direction: toward the heater.
Maximizing Efficiency: Glazing and Insulation
If you want to take your DIY heater to the professional level, you need to address convective heat loss. On a windy day, the wind blowing over your pipes will "strip" the heat away before it can reach the water.
The Glazed Collector Box
By placing your poly pipe coils inside a shallow wooden box with a clear cover (glazing), you create a greenhouse effect. The sunlight passes through the clear cover and hits the black pipe, but the resulting heat is trapped inside the box. clear polycarbonate corrugated roofing panels
Insulation
Insulating the back of the collector box with rigid foam board prevents heat from escaping through the bottom. This ensures that almost every photon of sunlight hitting the box is directed toward heating the water.
Automation: The "Set and Forget" System
A common mistake is leaving the solar heater running at night or on cloudy days. If the air temperature is lower than the pool temperature, your solar heater will actually become a "solar cooler," radiating your pool's heat into the night sky.
To prevent this, you can automate your system. Using a differential temperature controller, the system will only activate the solar loop when the collector is significantly hotter than the pool water. For the tech-savvy DIYer, How to Automate Your DIY Heater with an Arduino: A Step-by-Step Technical Guide provides a blueprint for building a custom controller that manages valves and pumps automatically.
Maintenance and Longevity
A well-built poly pipe solar heater can last 10 years or more with proper care.
- Winterization: If you live in an area with freezing temperatures, you must blow the water out of the lines using an air compressor or shop vac before the first frost.
- UV Protection: While poly pipe is UV resistant, the zip ties and wooden frames used to hold it together may not be. Use UV-rated cable ties and paint any exposed wood with high-quality exterior paint.
- Cleaning: Dust and debris on the pipes (or the glazing) will reduce efficiency. A simple rinse with a garden hose once a month is usually sufficient to keep the system performing at its peak.
By following these design principles, you can transform a few rolls of irrigation tubing into a powerful energy-harvesting machine, extending your swimming season by months without adding a penny to your utility bill.